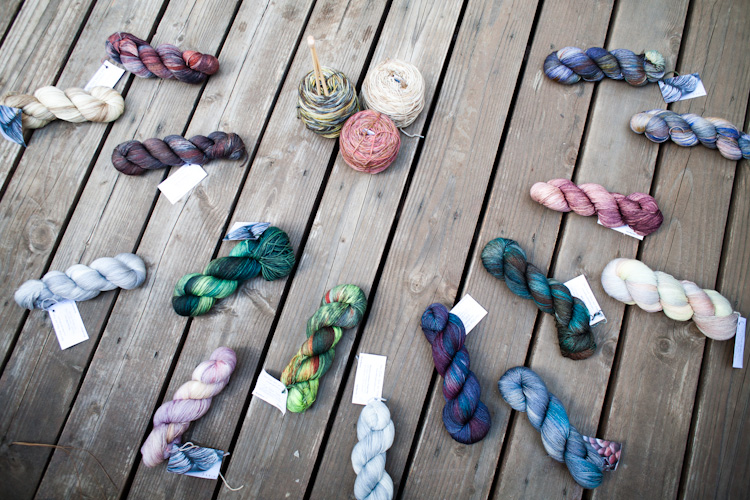
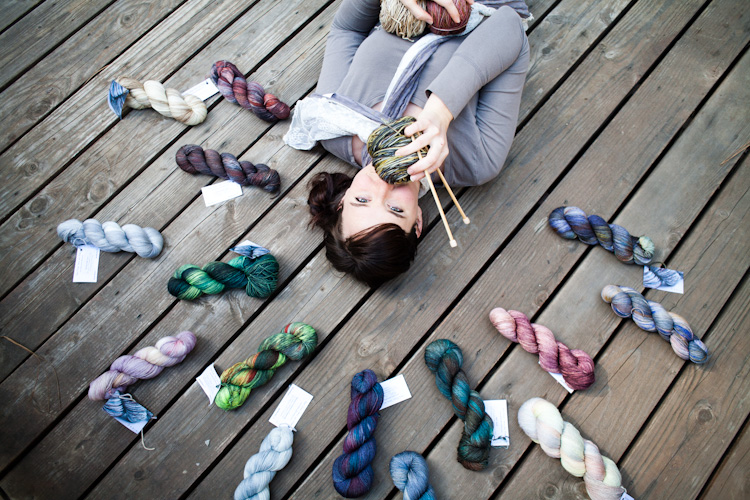
So I am packing up my house, box by box. I have had to prioritize my belongings because we will be moving to a much smaller living space. The hardest yet to sort? My yarn! I love it all but some of it has to go. The funniest part of pulling all my stuff out is I realized exactly how much yarn I have. More specifically how much Skein Yarn I have. After staring at the pile of beautifully hand dyed fibers I thought…they deserve a photo shoot…and what the heck, SO DO I! So you can see just how addicted I am to these yarns.

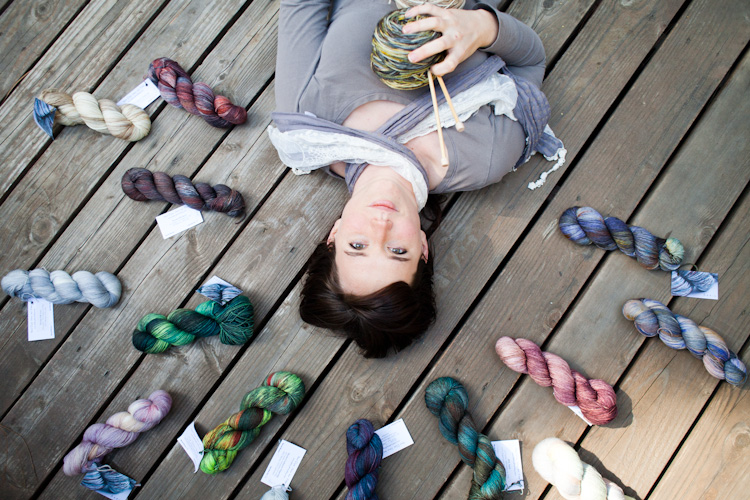
Well this might just be my new “About Me” photo. As for those yarns? I don’t even know if I can label them all. Maybe after I move.

I did one shot of just the yarn…couldn’t help myself…all those beautiful colors!

Lately I have been thinking a lot about this question. What do you get the girl who makes everything? I have so many creative and artistic friends it is hard to find a gift that suits them since they make anything they want to. Artistic people are extra hard to buy gifts for. I thought I would share a few things that have been a hit when trying to find the perfect thing for the special creative someone. I would love hear any other ideas.
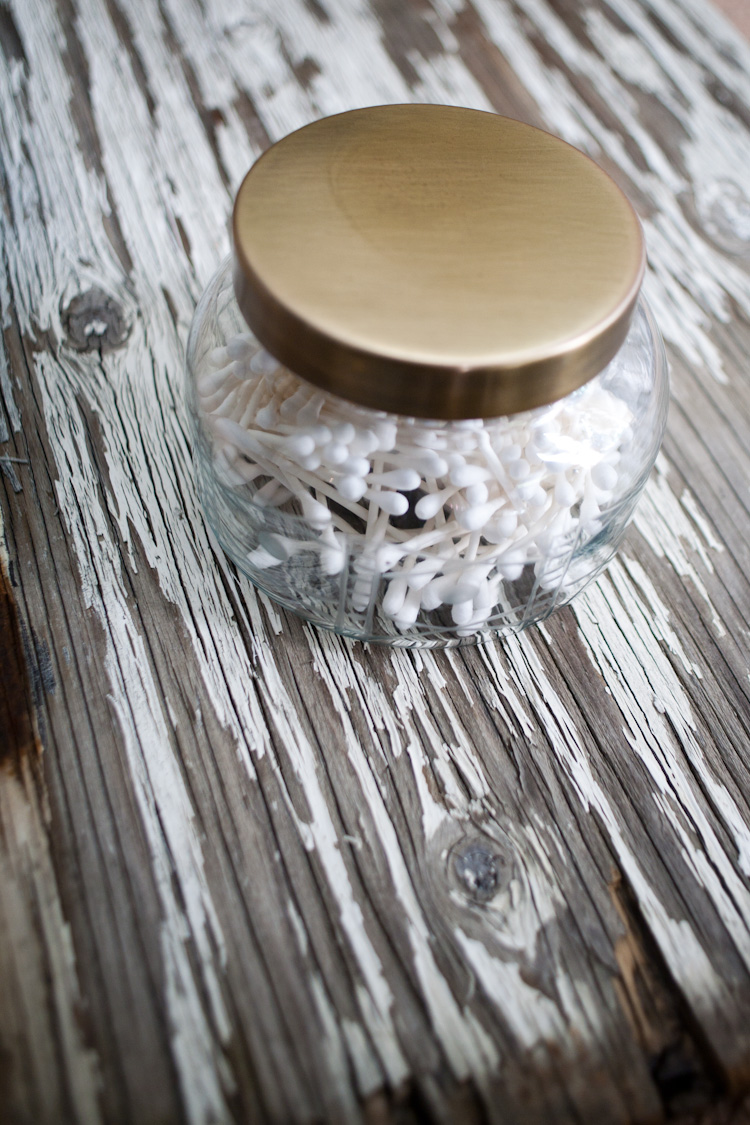
Vintage or beautiful jars that can be used for a variety of purposes…or even better a candle in a jar that can be used for many purposes. This jar used to have a mercury glass coating on the inside. It held a Volcano Candle from Anthropologie (in case you want to see what it looked like before). I took the coating off by accident but I LOVE it even more this way. If I figure out how to do it again I will post a DIY.
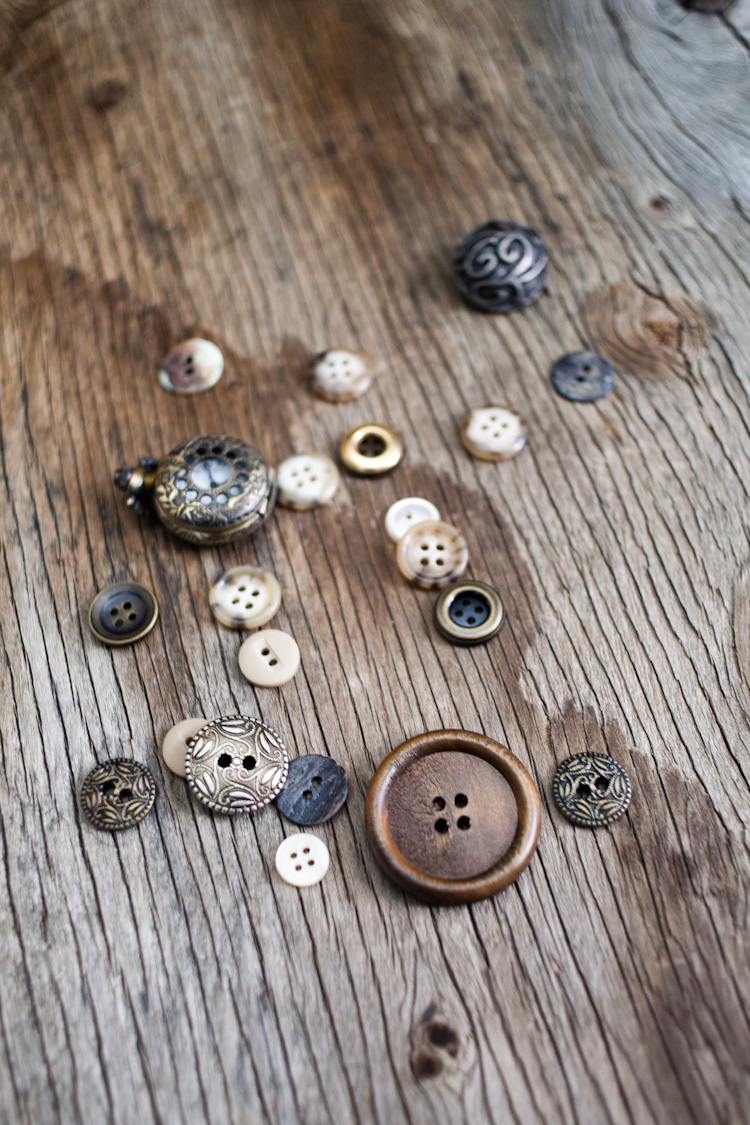
Buttons, though this one is probably the hardest for me to give because I am so obsessed with cool buttons. I collect vintage looking buttons and odds and ends. I have made little collections to give away. You can sew them to a scrap of fabric or cool paper if you want a fun way to display them as you give them.


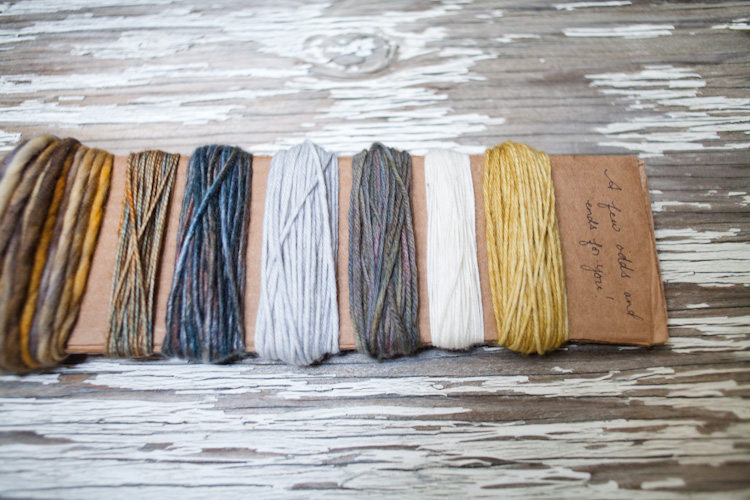
This is an idea I just had. I made this yarn card for a friend. Because I knit I have lots of yarn scraps. Many of these are expensive yarns that most people wouldn’t buy. It is nice to have a few yards of different fibers to wrap gifts with, make pom poms, or any other number of creative things. I new my friend Allyson would love to have some fun extra yarn to create with.
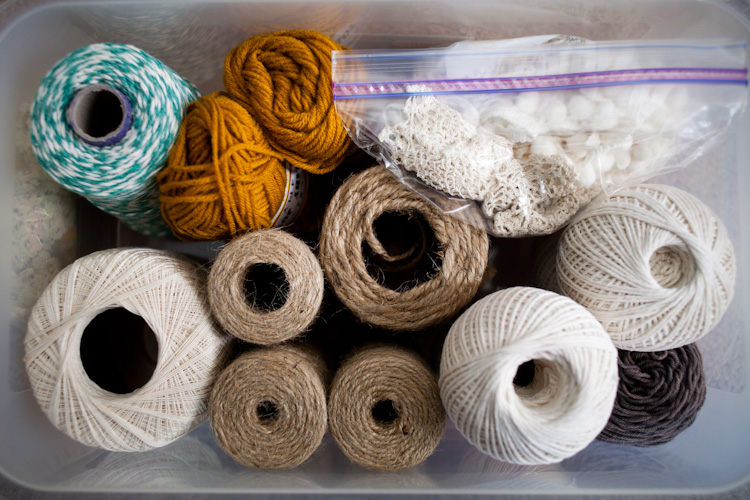
Along the same lines hemp, string, bakers twine, and jute. Any of these things are great to include with a gift. I never have enough spools of natural fiber. If I don’t use them I decorate with them. I have given spools like this as gifts several times.

I hope this helps if you are on a search for a great gift for an artist friend. Some other ideas are fancy paper with prints or or blank, lace, and trimmings. Maybe even art supplies if there is something specific you know they like.
 

We are progressing in moving and packing up the house. As I get more and more things packed up I am finding less and less time for big projects. So, I have been working on swatches. Often you need to knit up a swatch to find out if you can match the gauge in a pattern. It seems complicated but if you do it correctly it can make your life SO much easier. Here is an awesome article about swatching for achieving the proper gauge that I found on knitty.com.

http://knitty.com/ISSUEspring03/FEATswatchout.html

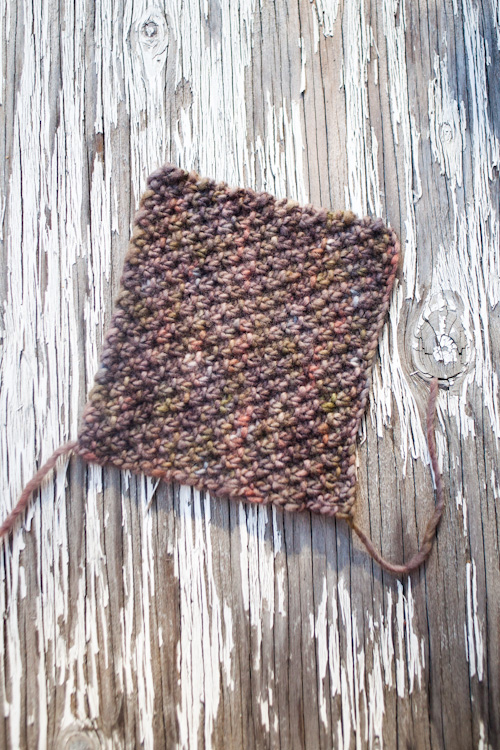
Another reason for swatching is to try out new stitches. Here is a fun one to try all you need to know how to do a knit stitch and a purl stitch.

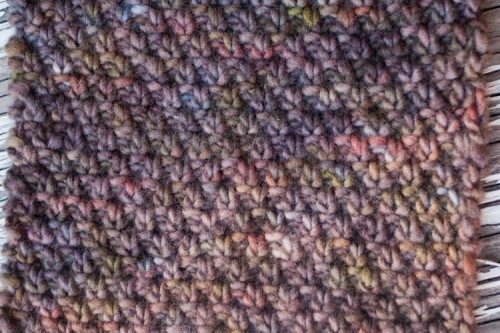
This stitch is very simple and it has such a cool texture to it. Here is how you can achieve this stitch. For this swatch I used US size 7 needles and a worsted weight yarn.

Cast On 30 stitches

R1:  K1, P1 repeat for the whole row

R2: K1, P1 repeat for the whole row

R3: P1, K1 repeat for the whole row

R4: P1, K1 repeat for the whole row

Repeat these four rows 9 times or so until you have a square swatch. Or until you have the hang of the stitch.


If you want to learn other stitches you can purchase a knitting stitch library like the ones below.


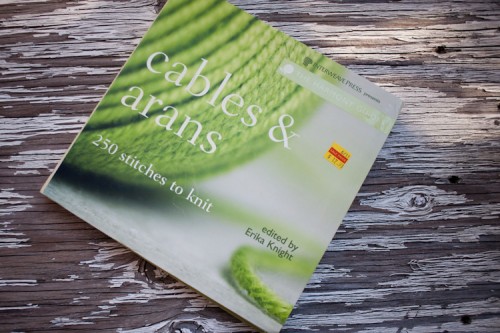
Interweave Press has a series called the Harmony Guides. They come in several different volumes covering different types of stitches.

Knit and Purl

Cables and Arans

Knit Edgings and Trims

Lace and Eyelets

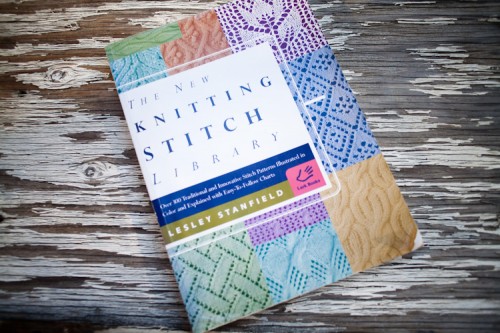
Here is another stitch library I use a lot you can find it here.

Another great resource for learning new stitches is online stitch libraries. I found a particularly good one.

Here is another resource I have used.

http://www.knittingfool.com/pages/Alpha.guest.cfm?CFID=70535546&CFTOKEN=42795247

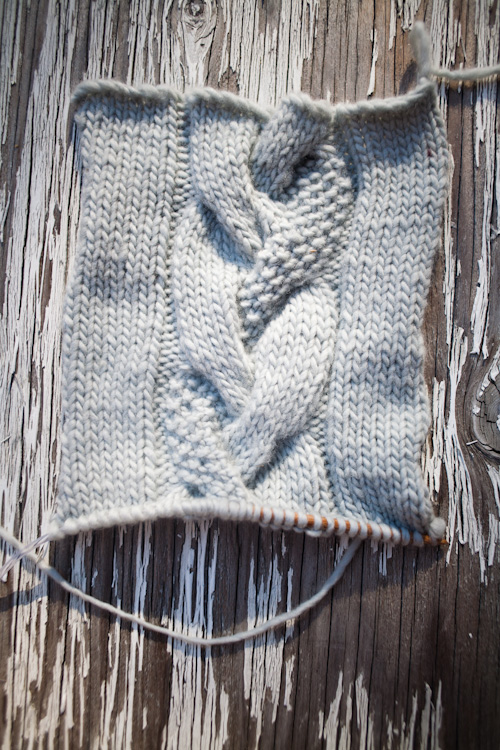
Here is a fun stitch I was working on this weekend. I modified a chunky braid cable to make it more interesting. I may incorporate it into a pattern after the move. I encourage you to try new stitches, it is a great way to build confidence in your knitting skills. Creating swatches from a stitch library is also a good way to learn how to read charts and patterns on a small scale because they use the same abbreviations.


So big news in my life…I am moving. I have lived in the mountains for the last five years, that consists of most of my married life and all of my kids lives. Transition is hard but if you let it can allow for a lot of organizing and cleaning out of both thoughts and posessions. In my case I am attempting to organize my art/crafting supplies. It has forced me to look back at things I have created in the past. It is amazing to look back and see past things you have created to see your own growth or the change in trends. In my case I am looking back at a different profession, jewelry making. I thought I would share some pictures for those who haven’t seen my work before. Bare in mind they are outdated designs…almost ten years old, however, I have decided to keep a few and the rest, who knows I will either sell or give them away.

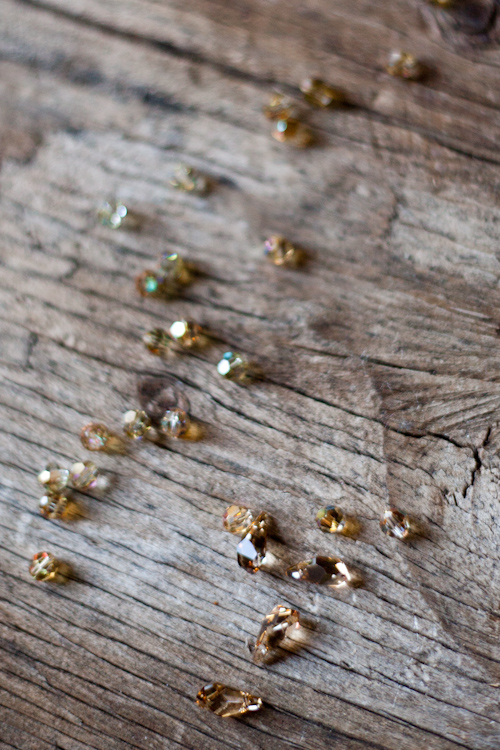
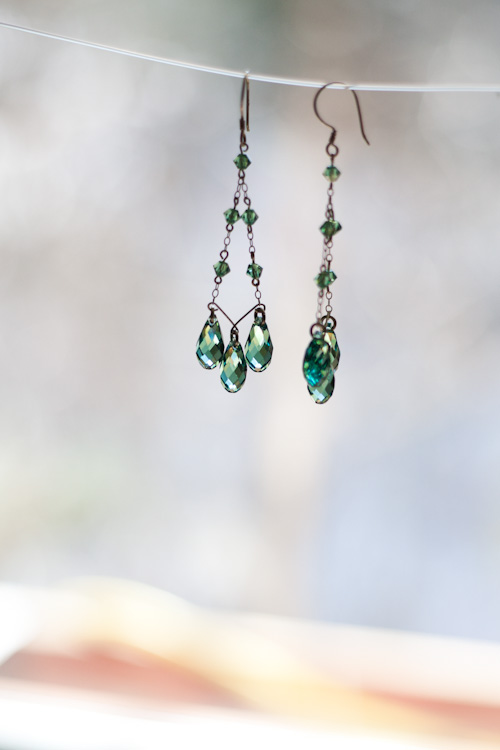
I used to use a lot of Swarovski Crystal. It is definitely the best quality crystal out there. If you decide to get into jewelry one thing I recommend is to use the highest quality materials. This is one of the things that has remained the same in all the artistic ventures I have taken up. I believe in using quality materials…with anything I create. That may seem intimidating when you look at crystal prices but here are a few resources for Swarovski and quality findings.

www.bluemud.com/

www.inmcrystal.com/

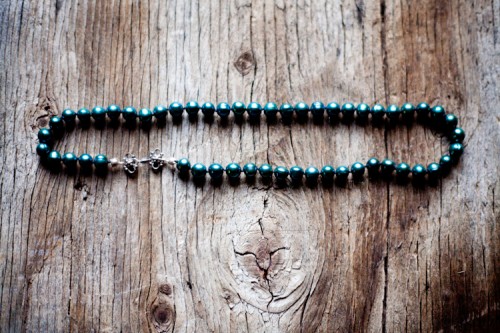
Another favorite material that I used to incorporate into my jewelry is fresh water pearls.

There is something so mesmerizing about pearls…perhaps it is the fact that they are practically alive, or the way the retain warmth after being worn, the way they reflect light? Whatever it is I adore them. Fresh water pearls come in all sizes shapes and colors. They look good with everything because of their iridescence. Here is a great resource I found for fresh water pearls.

www.integritypearls.com/

The thing about pearls is they are all unique so even though you can find fantastic deals online I always found myself drawn to my local bead shop so I could run my hands through them and pick the strand that was exactly what I wanted.

My favorite pieces are still the chandelier earrings using crystal. I know they are not as in style but their classic beauty is still a must have for my jewelry box. These I will keep.

Here are a few more resources for jewelry making. I recomend using real silver and gold for your findings. One of my favorite types of silver to use is sterling silver from Bali. Here is a good resource for Bali silver.

zeelver.com/

If you are looking to enter the jewelry making business I hope these resources are helpful to you. I will continue to post things I find in my stash/mess of creative supplies. I am hoping to get rid of as many things as possible before our big move. We are relocating to San Diego California. I am hoping to start a knitting group or two down there so if you are a SD knitter and are interested in a little knitting community please contact me! [email protected]


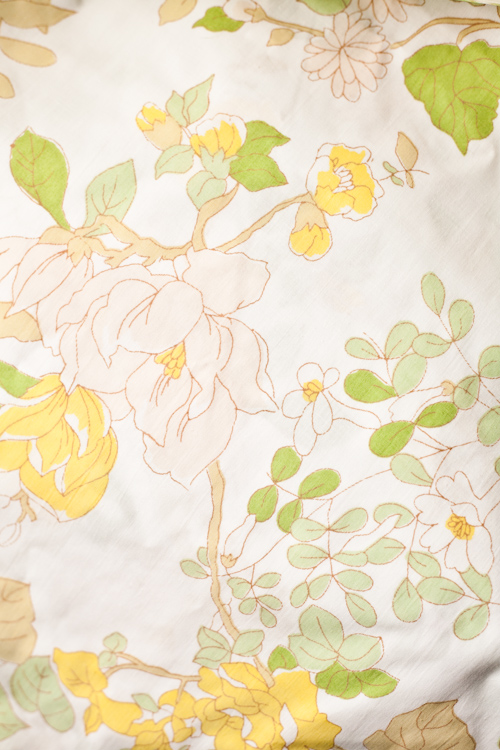
I wish I had the money to get yards and yards of great fabric from my local fabric shop. Lace also is something I would love to buy but it can be so expensive. Here is my secret. Sheets! I find the best fabric by buying sheets and curtains from thrift stores. There are some wonderful prints and you get lots of yardage for 1-5 dollars.


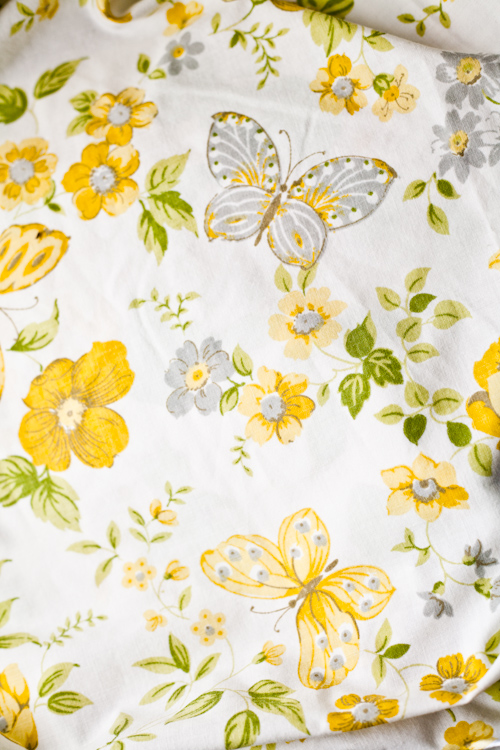
Here are a couple of pictures of some fabric I have acquired in this way. I absolutely love the butterfly fabric. I am planning on making this into something for my daughters bed…maybe a canopy.


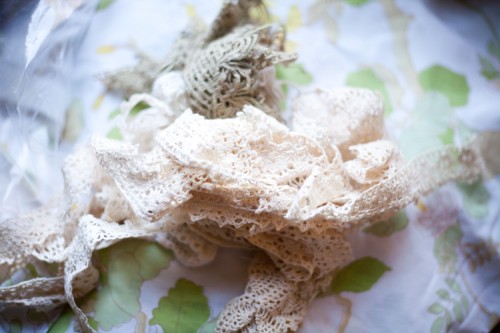
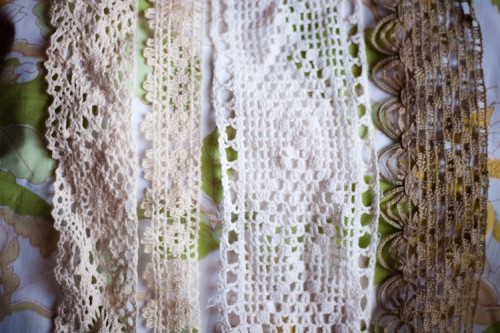
Another thing you can find at thrift stores is vintage lace. Lots of time you can get great lace off of dresses or you may even be able to find it in bags, usually with the yarn and ribbon. Lace is so expensive in fabric stores and I have found the best quality lace this way. It requires more time and effort on your part but it is worth it if you are looking for something unique.

Another thing I look for a thrift stores is buttons. Often I find awesome wooden or metal buttons on a shirt or jacket and I cut them off. I also take them off of clothes I am finished with.

Good luck on your hunt for exceptional findings and fabrics. I will share what I make out of the vintage sheets with you.

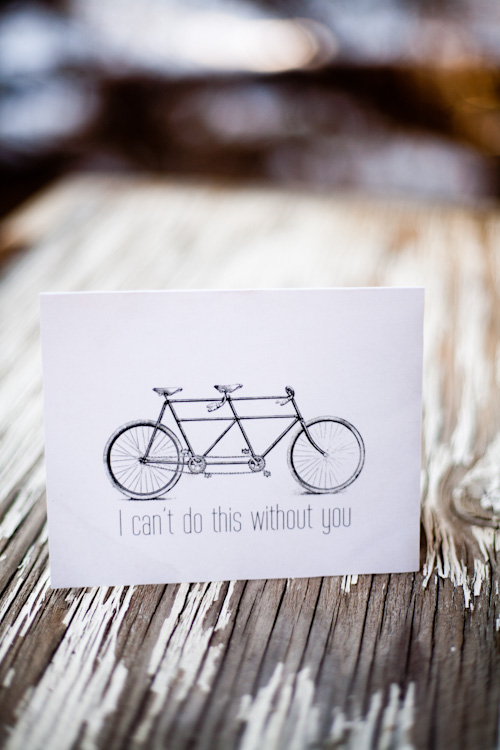
I have been looking at Valentine’s cards when I am out at the store and I have been really disappointed in what is out there. I decided to make my own and figured others might benefit from it.

{Download Now}

You can print this card out (simply click on the image or link above), it has the tea stain look incorporated into the image. Simply cut it out along the tea stain edge, fold it, write in it and pop it in an envelope for someone special.

Valentine’s Day is right around the corner. I have to say it isn’t my favorite holiday, mostly because it is a holiday of expectations. Met or exceeded it is about what our loved one is going to do for us. My sister told me a while ago to think of Valentine’s Day as a chance to do something special for my husband. It was the perfect mental switch I needed.

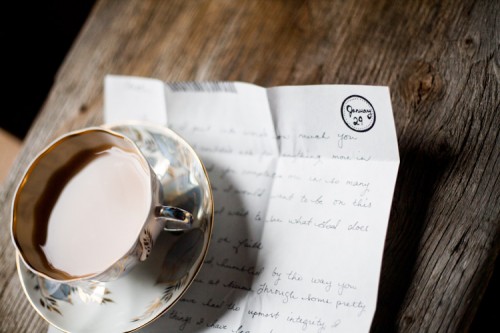
So what have I been working on for my husband? Well I have written a few love notes to my husband telling him how proud of him I am and how thankful I am to have him. I have not yet figured out what to do on Valentine’s Day but I have a few plans in the works. One will come in the form of the card above. Here is what one of the others looked like. I actually started giving him notes already…why wait.
A hand written note has so much meaning, why let someone else say what you can say on your own. It is more personal, it takes more time and thought. If you set out to make your loved one feel special and unique this Valentine’s Day, I would encourage you to do so with out any expectations. It isn’t as meaningful or special if your gifts are backed by expectations. Good luck!

New pattern release! Available for purchase in my Etsy Shop and Ravelry Pattern Store.
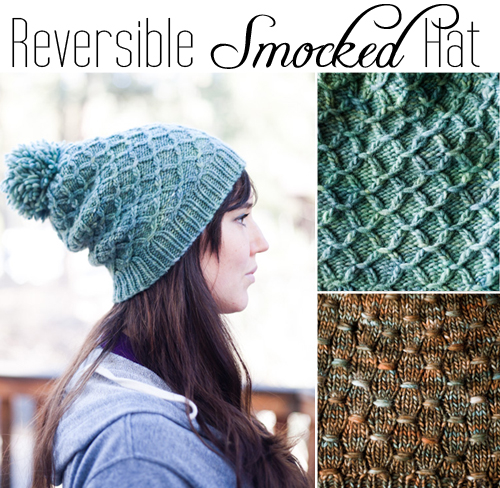
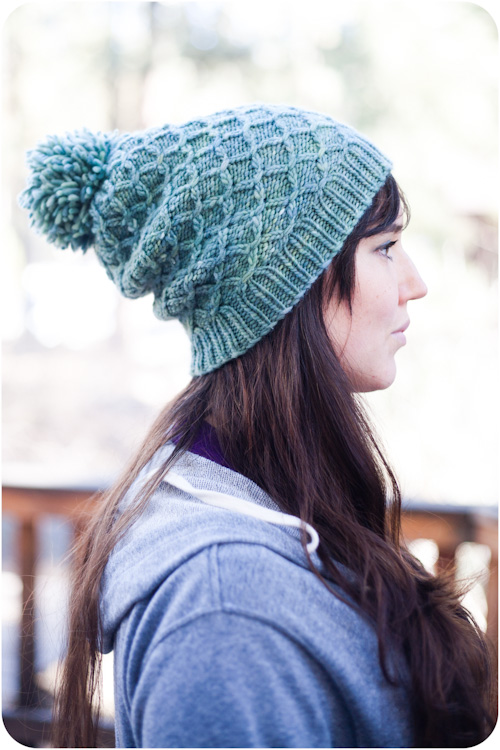
Ready, set, smock! Reminiscent of a gnome hood, this smock pattern beanie appears complex but is actually quite easy to create—and the best part is it’s reversible! Choose your favorite side before you attach the pom pom, or leave it off and choose each time you put it on! The pattern includes a video tutorial for the smock stitch so even a beginner can make this hat!

{buy now}

If you are nervous that you cannot complete this look simply check out this Video Tutorial to see how easy it is!

For my latest pattern (Reversible Smocking Hat), and for many of my Christmas gifts I had to make a pom poms. I actually have not made pom poms enough before to decide on a way to make them. There are several different methods. Here is what I tried first.
http://techknitting.blogspot.com/2008/05/how-to-make-pom-poms.html

or

This tutorial is great but I don’t prefer this way, mostly because I get bored threading the yarn through the center of the cardboard ring.

You can purchase a pom pom maker like this one sold on amazon.com:

http://www.amazon.com/Clover-Extra-Large-Pom-Maker/dp/B001CE38QQ

Here is how I do it. I prefer making pom poms this way because it requires nothing more than your yarn and a pair of scissors. The work comes mostly in the shaping of the pom pom.

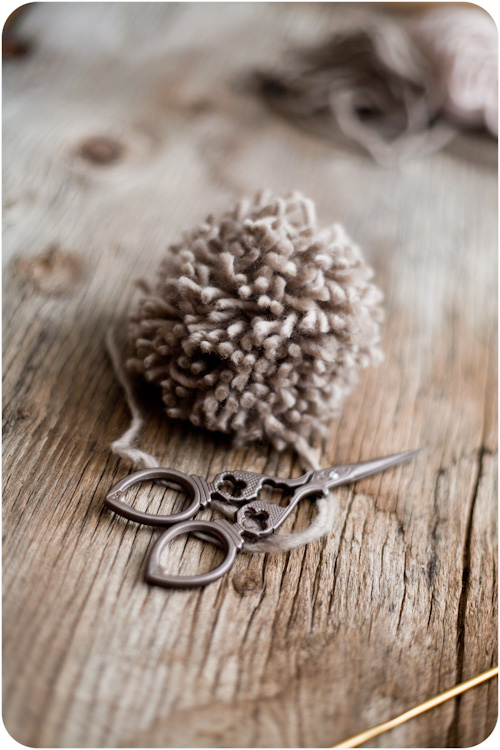
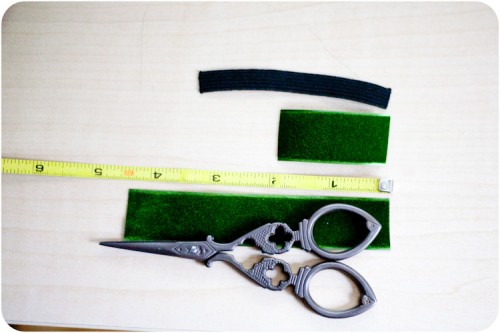
If you like the scissors used in this post you can find out more about them HERE.

You will need 6-12gm or so of yarn depending on how thick and large you want your pom pom to be.

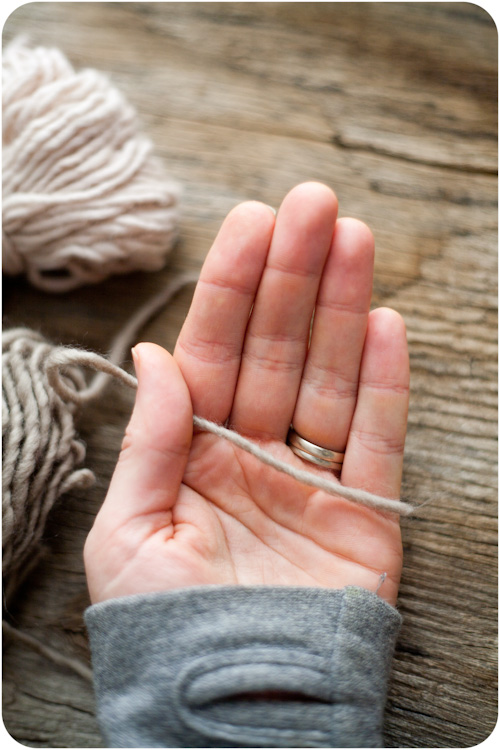
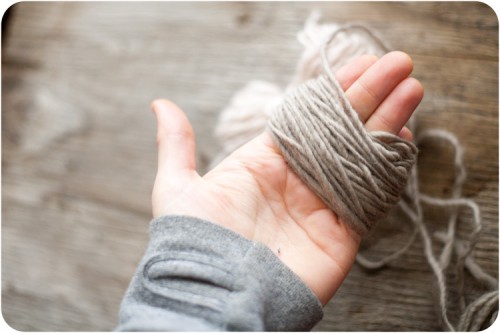
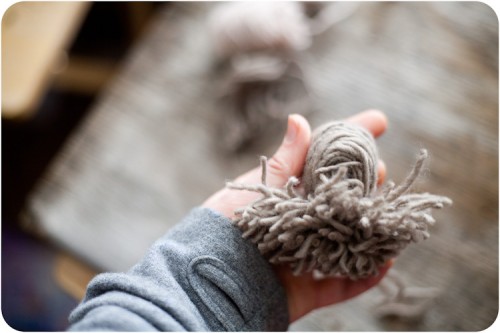
Hold the yarn between your thumb and your hand and wrap the yarn around your fingers. You can change the size of the pom by changing how many fingers you wrap the yarn around.

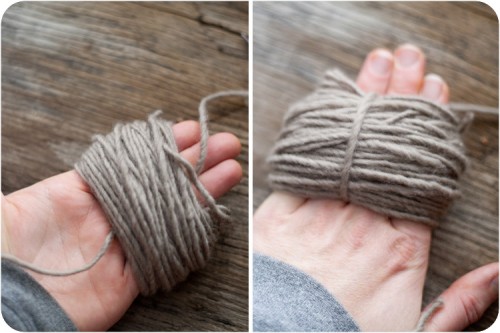
Wrap the yarn around your hand until it is thick and around the mass you want your pom pom to be. This is trial by error really. I usually try to wrap as much yarn as possible around my hand so that my pom pom is really thick.

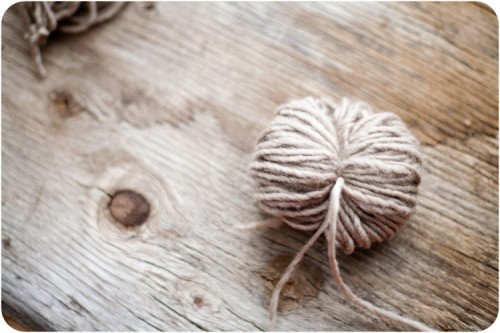
Wrap a piece of yarn around the entire bunch of yarn. I usually wrap it twice around to make it extra secure. I usually like to have a tail of 5 inches or so on each side of the knot. I use these two strands to secure the pom to the hat or whatever else I might be embellishing.

Using scissors cut the loops on either side in as close to the center as you can.

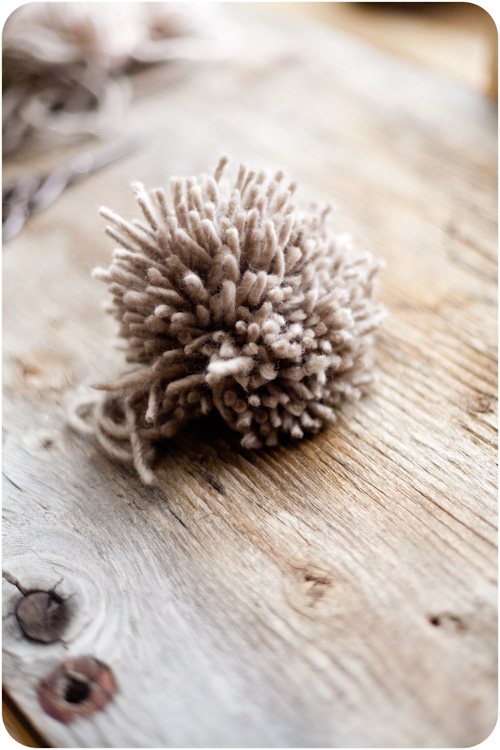
Then cut the other side in the same way. Usually after this step my pom pom looks like a porcupine with a bad hair cut.

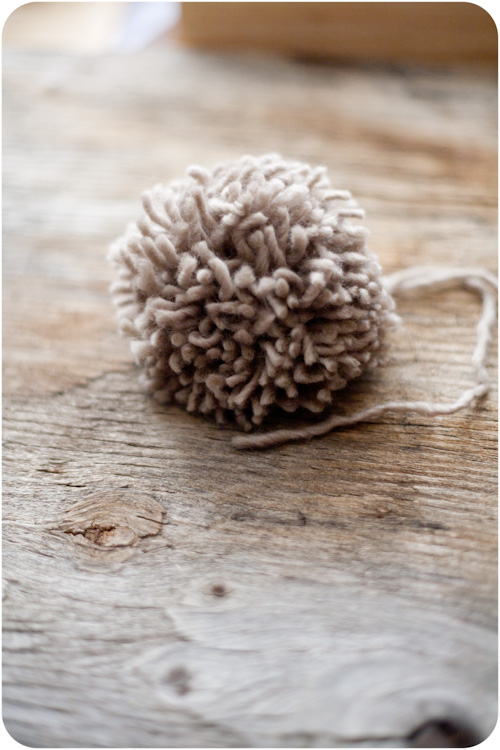
Using scissors trim the longer pieces of yarn until your pom pom looks even. Shaping the pom pom is an important part of making the pom pom this way.

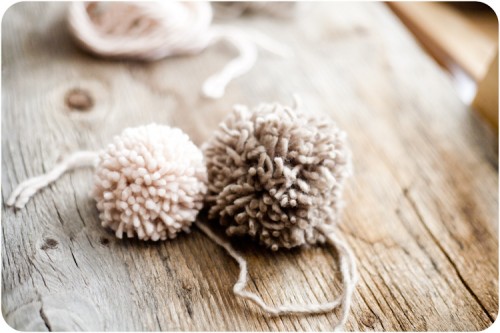
You can also make smaller pom poms using this method. I made on using only three fingers instead of four so there was an example of the size difference.

Available for purchase in my Etsy Shop and Ravelry Pattern Store.

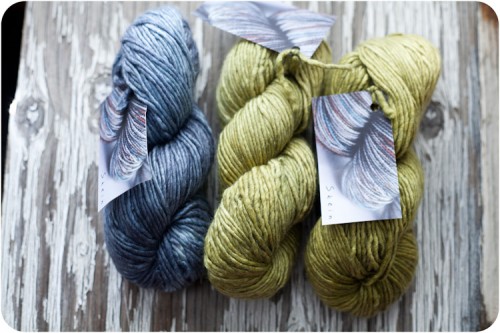
I don’t know about you but I wait anxiously for the mail when a package is coming. Especially if it is from my favorite yarn dyer. Not to belabor the point but…SKEIN YARNS is amazing! Here is the exciting package I got a couple of days ago.

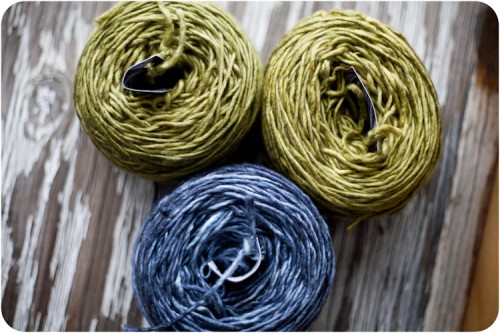
The lighting in my house has been terrible, due to winter storms. These are wild apple and pastel sky in the silk/merino worsted base.

I am using them to knit up my head wrap with a smock pattern. So I still remember the first time my yarn came in a hank like this instead of a center pull ball or skein (like the less expensive yarns you get at your local craft store). I wound my first hank into a center pull ball by hand (time consuming and exhausting).

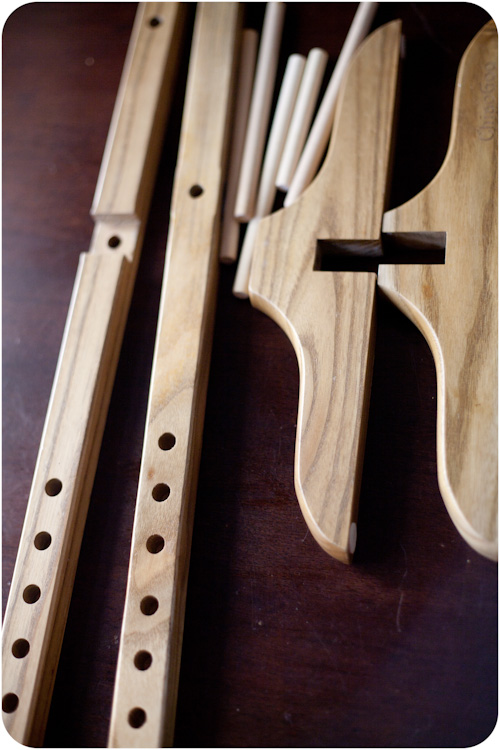
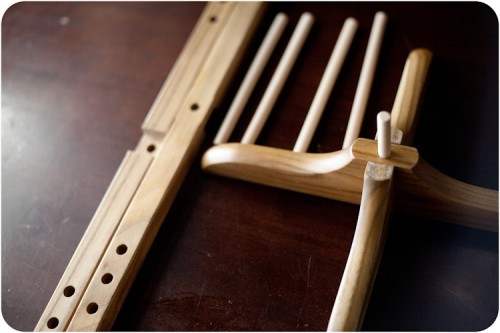
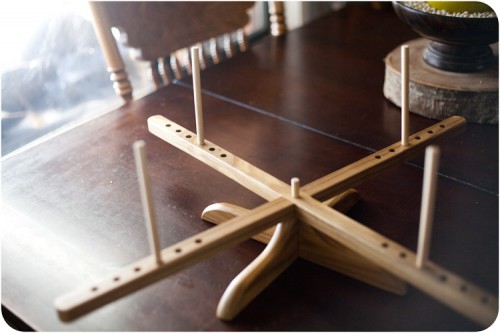
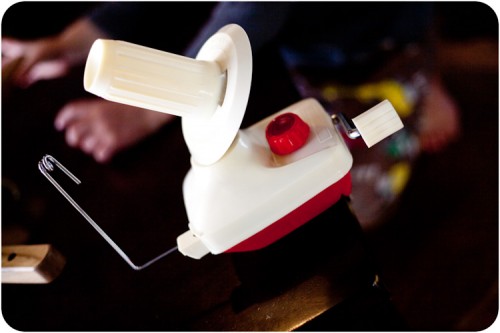
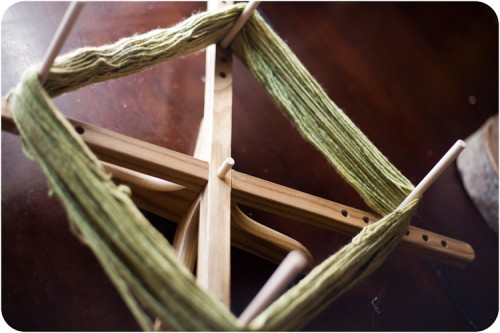
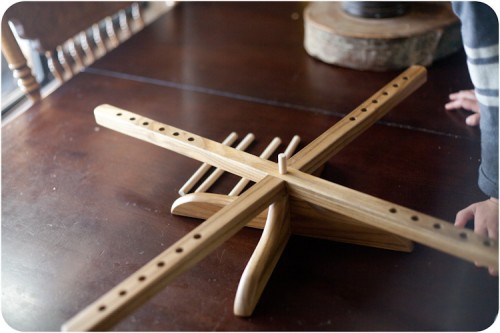
After I started paying extra to get my hanks wound by the yarn store I purchased from online I started to consider possibly purchasing a ball winder and swift. The issue is purchasing both was way out of my budget. Then I found this Amish Design Swift on amazon. It is half the price and breaks up easily. I use it when I travel and it is so simple to pull out during nap time.

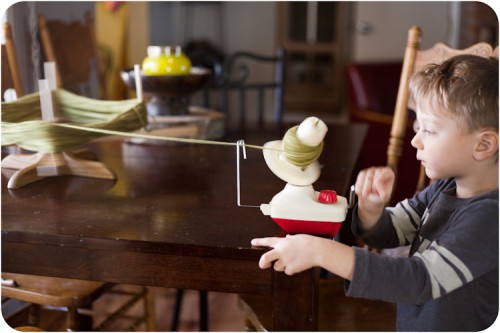
It is easy to put this together I like to set it up during nap time and let my four year old wind a few hanks for me.

Here is how easy it is to set up.

Other than the swift you need a ball winder. It attaches easily to several different tables or counter tops as it is adjustable.

Open up your hank and spread it around the swift. Clip the strand of yarn that holds it all together. Take one yarn tail and feed it into the ball winder and you are off!

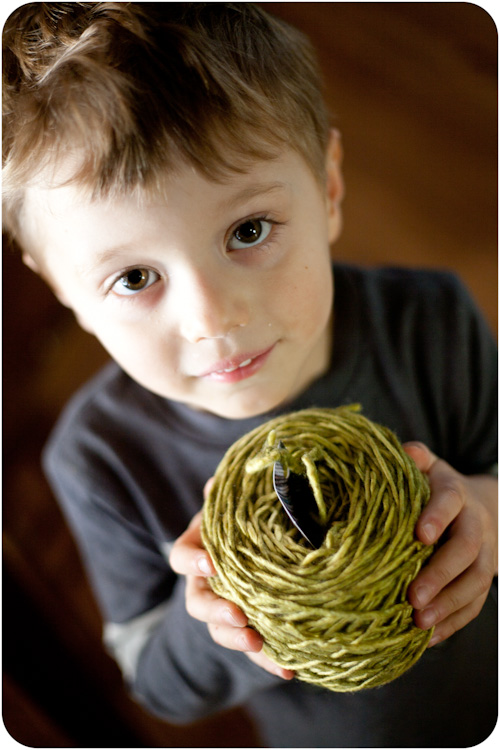
My son Corin wound all three hanks by himself. He loves it and is constantly begging me to wind yarn so it works out great.

I can’t believe how big he is getting. I am thankful to find ways to share my creative pursuits with my children.

So if you are tired of winding your hanks by hand or paying extra to have them wound (or maybe you just want to give your local yarn store a break form winding) this might be a good option for you.

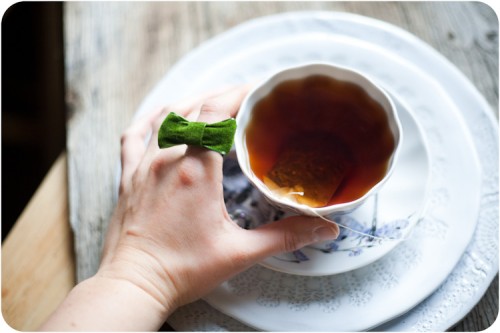
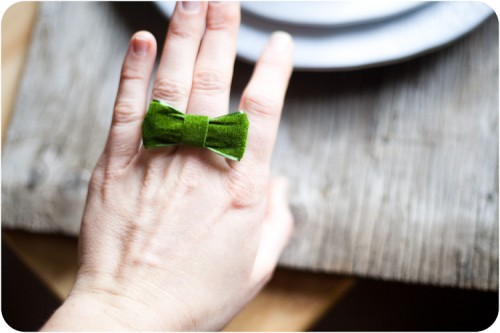
Every once and a while…well probably more than that I have an idea which seems a little absurd. This is one of them. The result was a really great bow tie ring. You could use the tutorial for the bow and make a clip or a hair tie also.

Supplies:
Glue Gun
8 inches of ribbon (more or less depending on the size of the bow)
2.5 inches of elastic

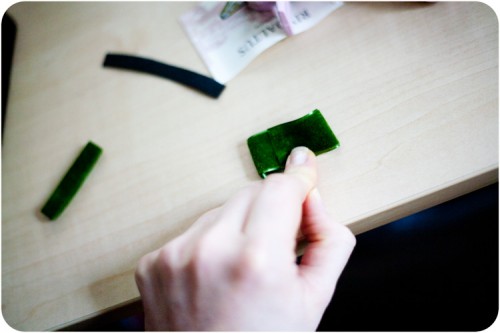
1. Cut ribbon into one four and a half inch length and one two inch length.

2. Fold the larger length of ribbon over like so. The narrower length can either be folded in half length wise or in thirds.


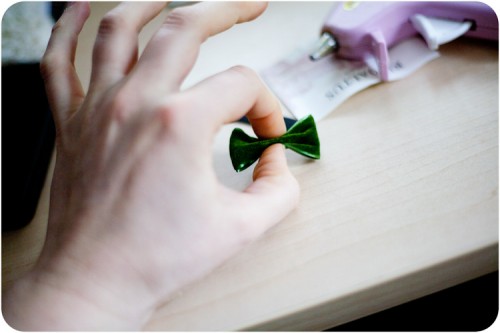
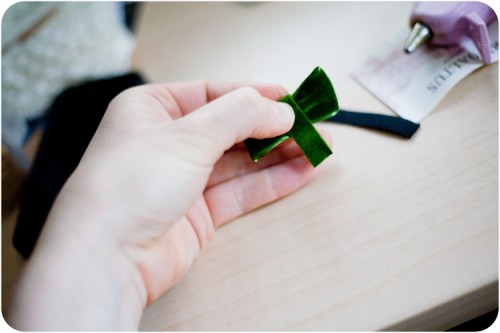
3. Flip the ribbon over so the folded over portion is in the back. Pinch it in the middle and hold it while you wrap the other piece of ribbon around the center.


4. Once you have wrapped the second piece of ribbon around the center secure it in the back with a bead of hot glue.


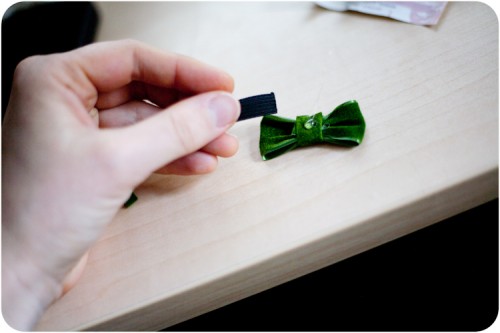
5. With another bead of glue attach the elastic loop it around and measure that it fits your finger and then attach the other side.


I used vintage velvet ribbon my grandmother gave me.

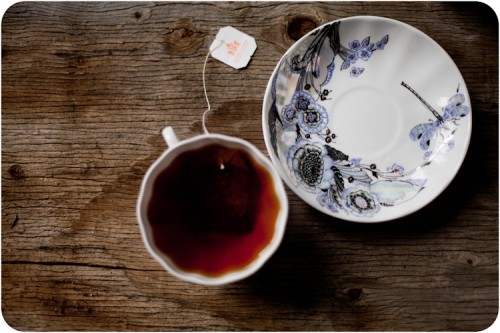
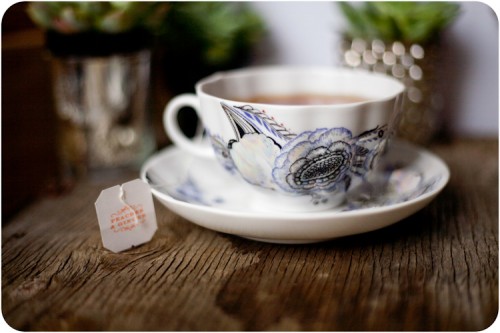
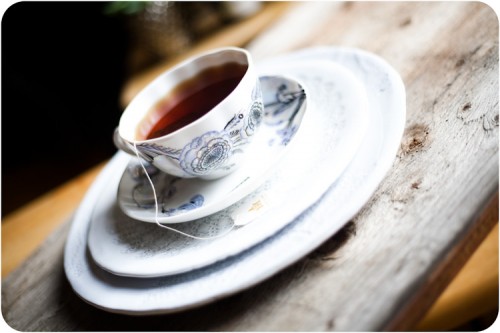
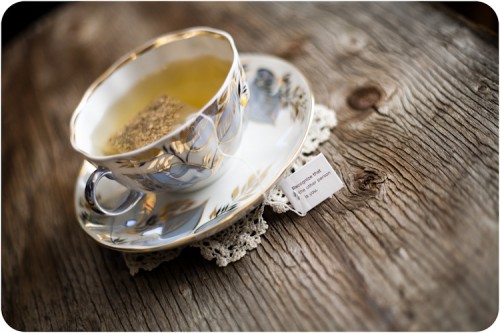
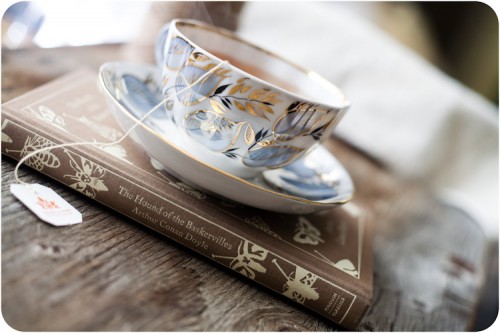
The tea cup that is pictured in this post is the dragonflies print from the Russian company Lomonosov. I purchased it HERE…I absolutely love it and the company was amazing to work with.

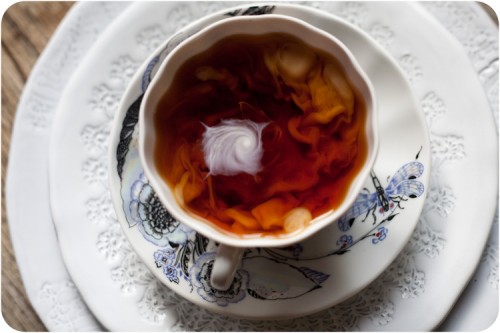
I think cream in tea is one of the more beautiful mundane things I experience during the day…I can imagine finding pictures in the depth and ripples.

I have had a lot on my mind during this the first month of 2012. One thing I have been thinking about is simplifying. I am ready to make some changes. Isn’t leaving a simpler life a hugs aspect of what art and creativity are all about? Artists are those who stop facing the grind of life and experience the emotions and watch and see what the rest of the world is too busy to see.

I already live a pretty simple life, there is no cell phone reception where I live and I am two hours away from any kind of shopping experience. The things that I am wanting to move away from are Facebook, and Instagram, and other such nuanced forms of self expression. I am tired of watered down friendships and shallow relationships. If you wish to take the pledge here is the blog I found it on read through Sonya’s call to simplify your life. Here is the pledge and I will outline the ways I am implementing it in my own life. I believe simplifying my life will allow me to be more creative, not less. Purchasing less will inspire me to make more. If you wish to make February a simpler month post a comment here to let me know!


I pledge to live a simple life through:

— decluttering;
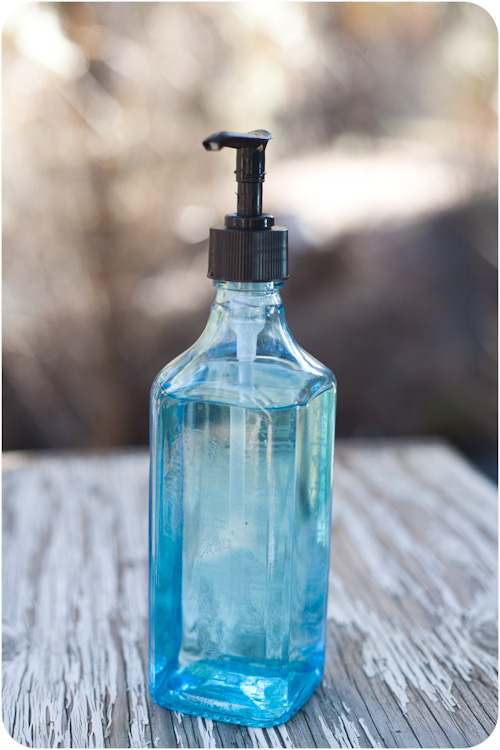
Yes please! One of the negatives to being a creative person is I see the good in everything…what it can be used for. What other purpose it can hold. Sometimes these things pay off. I used an empty bottle my father in law gave me to make my new soap pump. When I don’t find a way to re-use items they sit on my shelves cluttering up my home. I am going to give up on a few things and give someone else a chance of finding a way to use them.

This bottle fit perfectly with the pump from an old lotion bottle. The result is fantastic and exactly what I needed to hold my dish soap. I try to be creative in every aspect of my life even those I don’t enjoy like dish doing.


- using less;

I have been wanting to simplify and use less I haven’t figured out what to use less of. I have been wanting to drink a bit less coffee. I have been drinking tea instead. This also allows me to use my beautiful tea cups that I purchased when I was studying in St. Petersburg Russia. I am enjoying the addition of tea drinking to my day. It is good to limit my coffee consumption. As a mother of twins and an older child I hold onto what little comforts and caffeine I can get.

This tea cup is from the set I purchased while studying abroad. The design is called “Moonlight” and is breathtaking. I love anything hand made and these cups are painted by hand.

— learning to be sustainable in all aspects of life;

This is a difficult one for me. I don’t use a lot of toxic things in my life but there is no way to recycle where I live. Any creative ideas are appreciated. At the moment all my mind can come up with is getting my kids potty trained (use less diapers) and use fewer ziplock bags. 

Create gifts…don’t buy them. Use what you have around you to make something personalized. Instead of buying a baby hat…make one.


– slowing down and finding joy in little things;

For me this requires less time working during the day and more time spent with my kids. It is easy to get wrapped up in my own creative pursuits. My kids miss out when I get distracted during the day. I have already been trying to spend intentional time with them. Drawing, playing with play-dough and building train tracks. Basically, I try to be creative and fufill my need to express myself while spending time with my kids.

It is so rewarding to see their beautiful happy faces when they have time with me. So I am going to be more intentional and have them watch little to NO movies or television during the day. 


- reconnecting with my inner self;

For me this means spending more time in scripture. I want to know more about who I am in Christ…who I am without him…well lets just say I know that person well enough already.


- spending more time with my loved ones;

Whoops! I already covered that one! Ok, more time with my Love, my husband. Last night we planned on watching a movie together and instead we spent the evening talking…how wonderful is that! I want to be more intentional about my time with Chester. He is my best friend and sometimes I forget that and get lost in the other aspects of life.

This is one of the images my husband and I had taken recently. There were quite a few that I liked but this one, and felt fit this aspect of the pledge the best. Spend more time together!

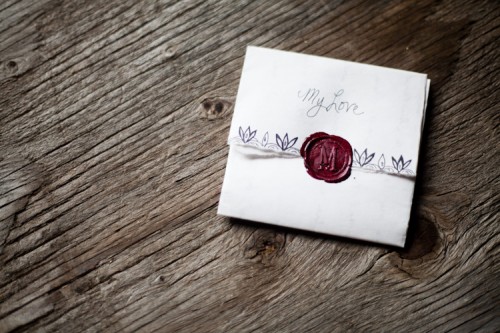
Another way of doing this is through hand written letter. I am trying to do more of this. I usually draw images to add a little more personality to my letters.

— elevating experiences above possessions.

Get outside! It is snowing, cold, wet and glorious. I am going to get myself and my children outside. Even if the result is my children crying because their hands are cold. No reason to avoid being outside simply because I don’t want to deal with the aftermath of being in the snow. 

Also buy less…I don’t buy much but I will endeavor to buy less and focus on things that bring experience with them. 

Read more…

I hope this post has been thought provoking. I will post more relating to this as February rolls around. Go out and live life, create something beautiful!