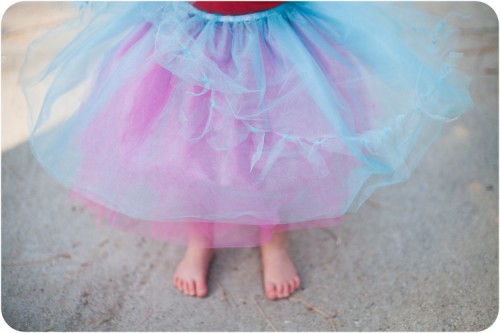
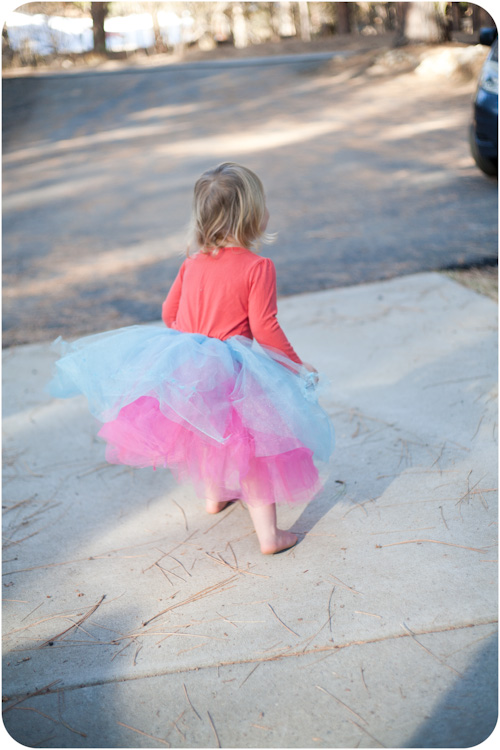
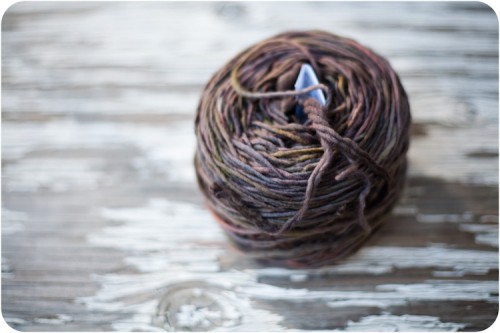
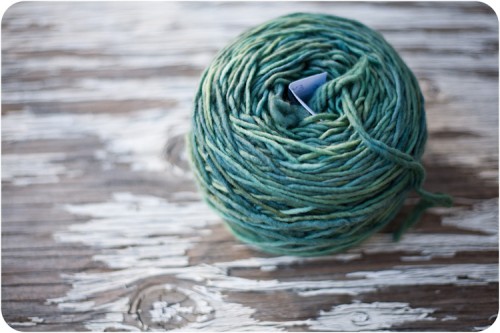
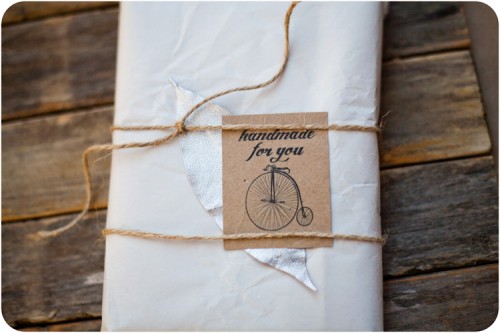
My daughter Fiona is two and a half and crazy about dressing up. She manages to look as if in costume in her regular clothes, due to her pairings and color combinations. I adore her creativity and wild personality. For Christmas I decided I would make her a dress up box…well I didn’t make the box actually, I made what was in it. I thought I would post a quick tutorial on how to make this adorable princess skirt out of tule. It really is so simple and all you need is a sewing machine, 2 yards of tule, scissors, 16-25 inches of elastic and a safty pin.

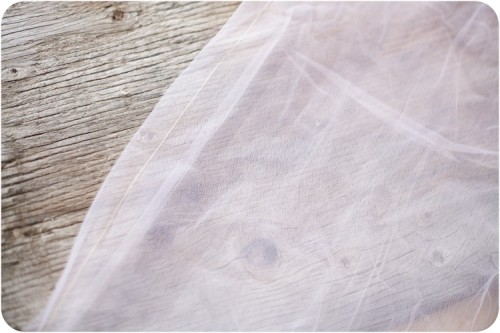
So…here we go. When you buy tulle from the fabric store it will come pre-folded it is 54 inches in width total so folded it will be around 27 inches in length. I purchased 2 yards of each color that I wanted to make a skirt out of.

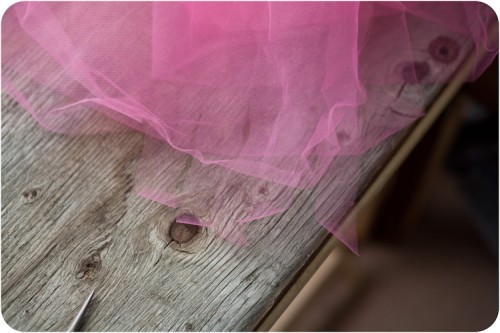
Lay your tulle flat and keep it folded so that it will be 2 yards long and 27 inches wide.
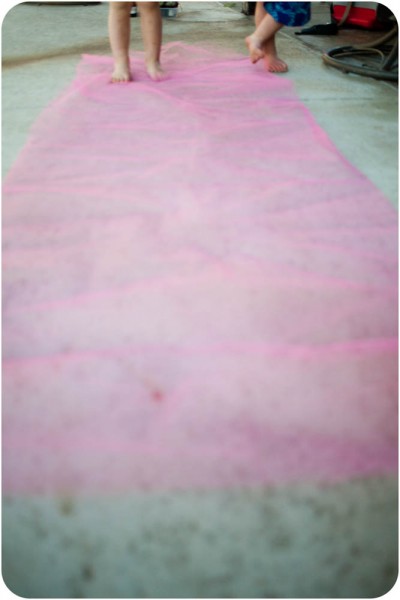
As you can see my children were standing on my tulle…they like to stand on, well, everything I try to make. Once you have it laying flat fold it length wise. It will now be aproximately 14 inches in width and still 2 yards in length.
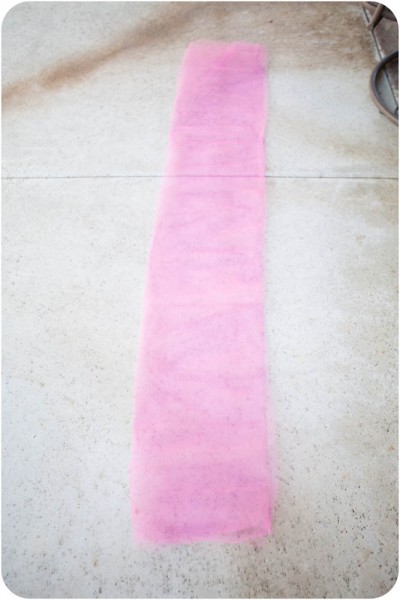
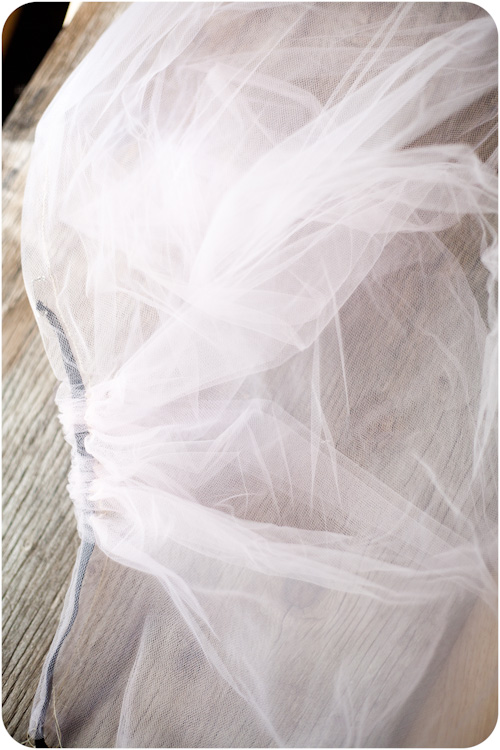
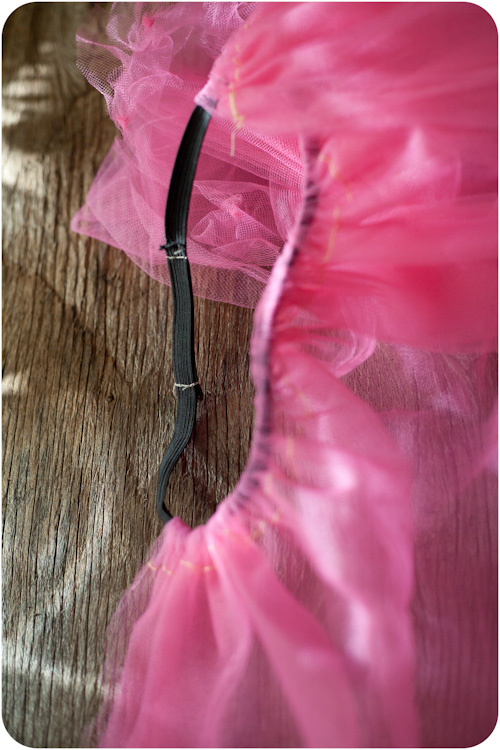
After you have folded your tulle, twice over, sew along the folded side about an inch from the edge.

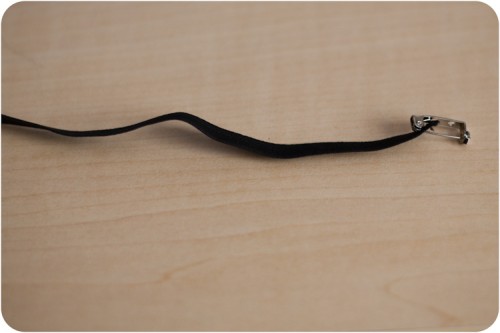
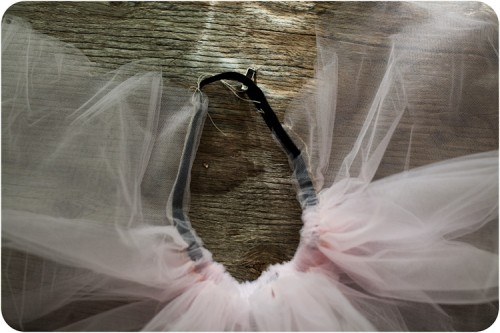
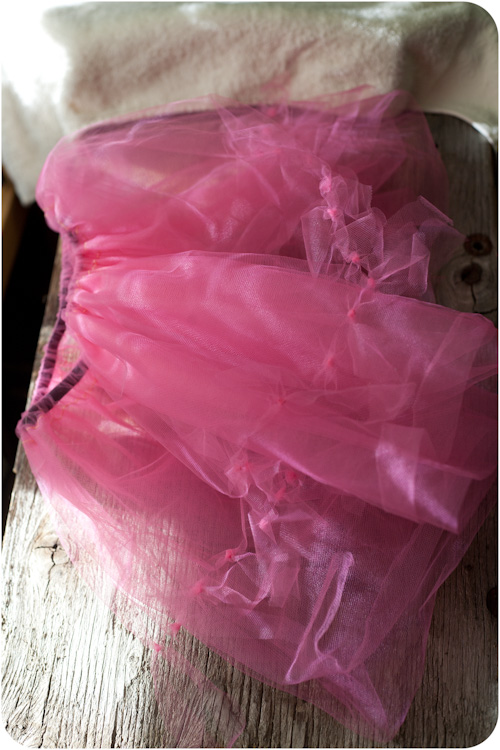
Using a safety pin, I didn’t have one on hand, attach it to a 15-20 length of elastic and thread it through the sewn area.

Once you have threaded the elastic through cross it over itself and double check that it has not twisted.

Sew the elastic together with an overlap.

After sewing the elastic even out the skirt so it is evenly ruffled. The split at the back will be hardly noticeable with four layers of tulle. You can leave it as is or you can follow the next instructions to give one or more layers the knotted look.

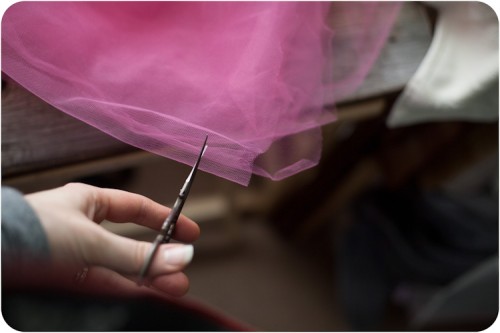
First lay your skirt so that a single layer of tulle is on top. and seporate that layer from the rest. Then take scissors and cut at one inch intervals around four inches up.

Continue until you have repeated this process all the way around the skirt.

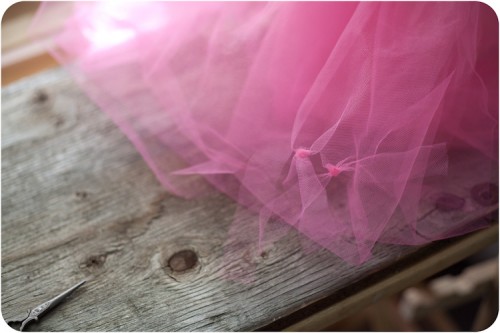
Starting at one end tie two of the cut pieces together in a knot and then move to the next two and continue this process all the way around the skirt.

Once you finish the skirt will have a little added frill. You can do this on all four layers of the skirt to make it extra frilly for your little girl.

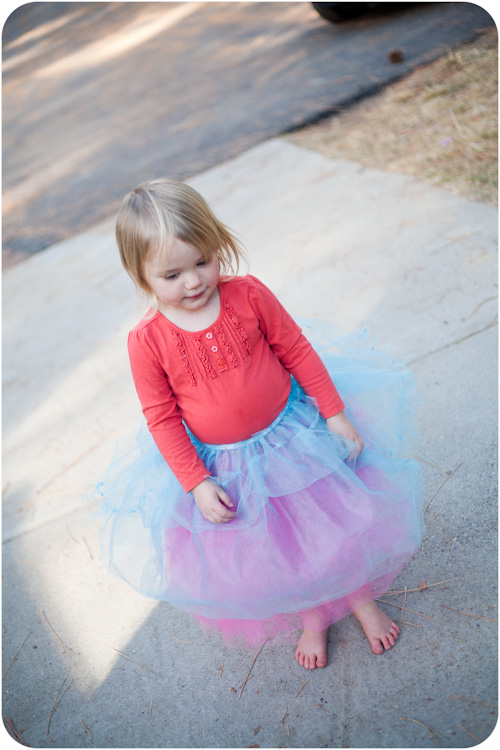
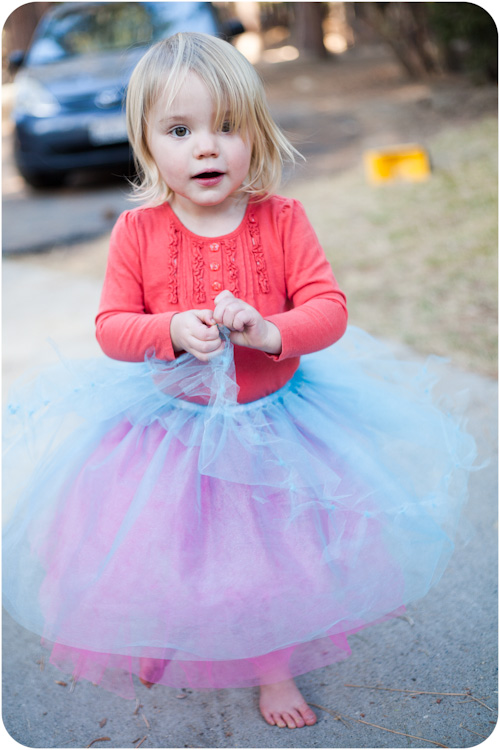
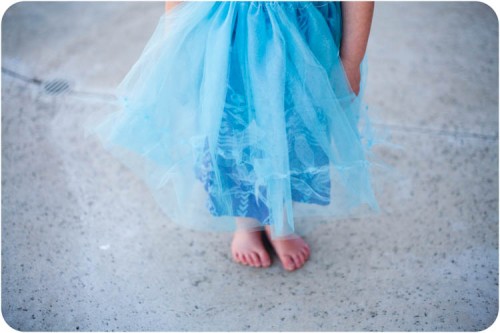
My little lovely layers 3-4 of these skirts at a time. It definitely results in  her having a cupcake look.

The end result is so cute and they are SO inexpensive.
 

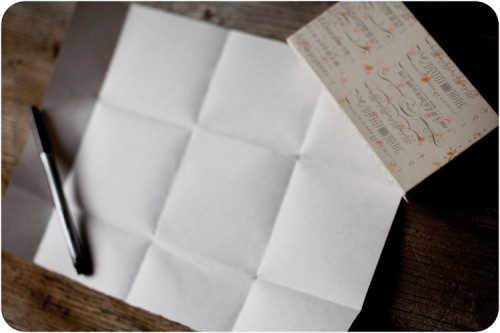
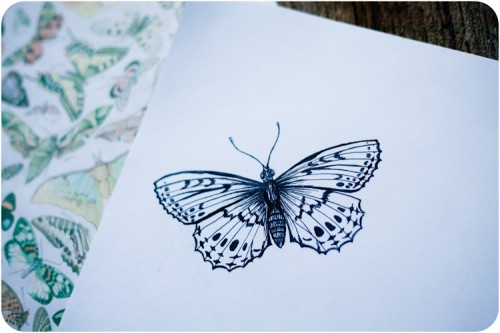
I have started hand writing letters in an attempt to create some authenticity in my communication with my friends. I have been growing increasingly tired of the flat and impersonal form of communication. Email and facebook and all other forms of electronic communication lack something that the hand written word expresses. I have been using sketch paper and folding it in slightly complex ways allows me to sketch in my letters. It also resembles the old fashioned letter writing of Jane Austen’s time.

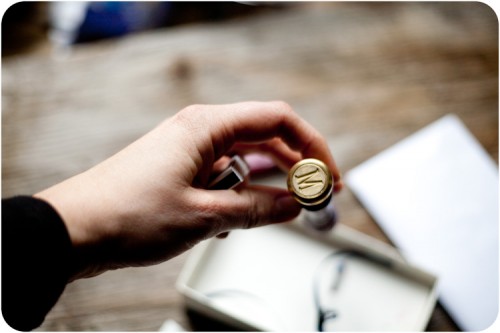
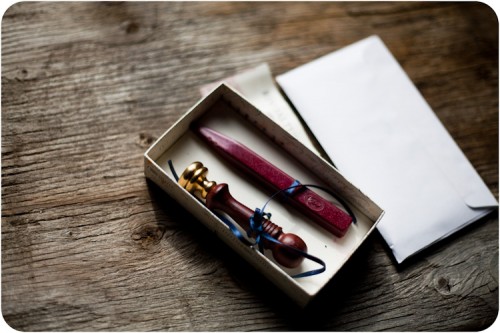
As an extra fun addition to my letters I used this wax seal kit my sister got me from Venice, Italy. It has a monogram M that can be either printed text or script.

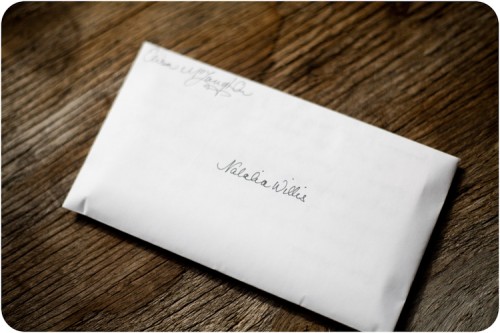
Once my letter was finished I addressed my envelope.

I have a lot to learn about sealing letters. It was a lot more complicated than I thought it would be.

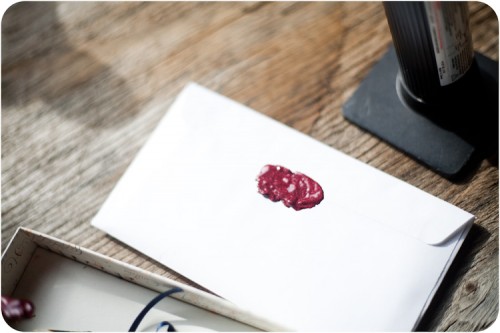
Melting the wax was the complicated part. Melting it so that it was thick enough to take the seal.

I used a match to melt the wax and then smashed the melted part of the stick onto the area of the letter I wanted to seal. After reading this tutorial online I realized I did it correctly I just need more PRACTICE!

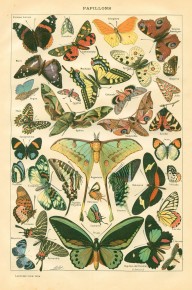
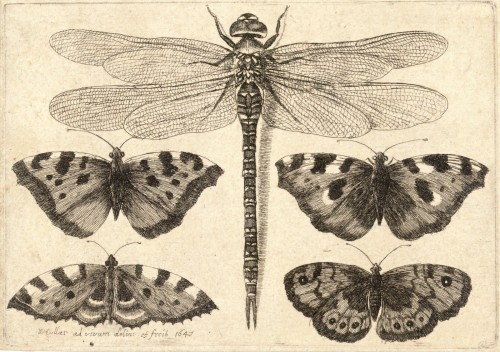
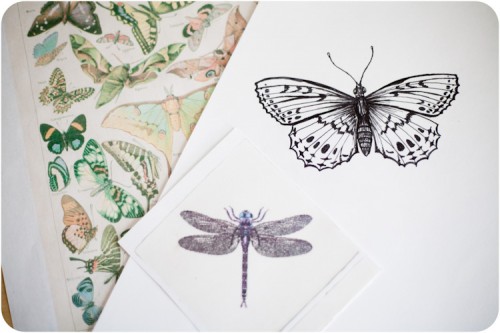
Since my Courage to Draw post a few months back I have been sketching consistently in my journal. It is amazing how sketching helps me write and vice a versa. The more I draw the more I write. To help me stay inspired I have printed out several images off of various free printable websites…the most notable being vintageprintable.com. There are lots of free images online that you can print and frame or you can use them as inspiration for drawing. I have been drawing a lot of butterflies lately. They are something I enjoy drawing and are relatively easy and diverse.

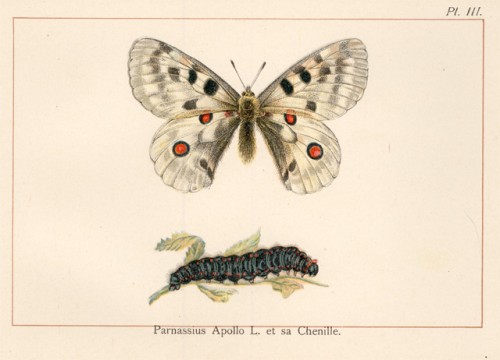
Here are a couple of images that I use for inspiration for butterflies.

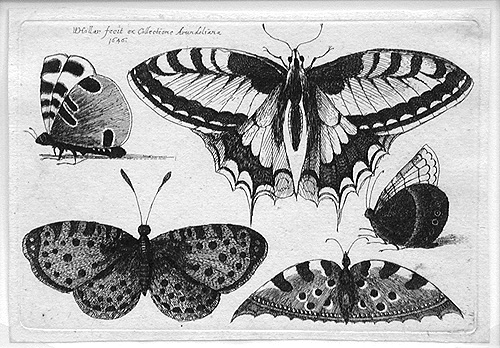
If you click on the image it will take you to the full size version so you can save the image and print it. Here are a few more fun butterfly images.

This image is already full size, you should be able to click and save it.

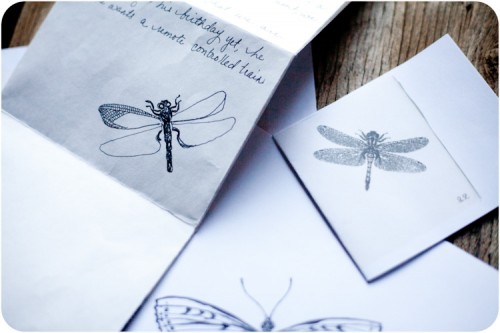
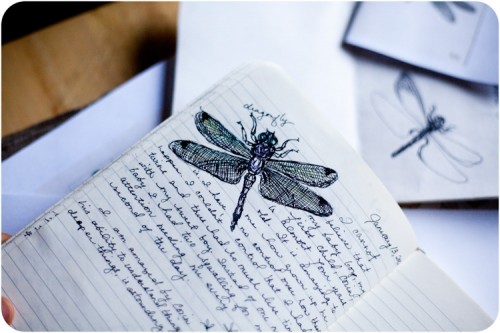
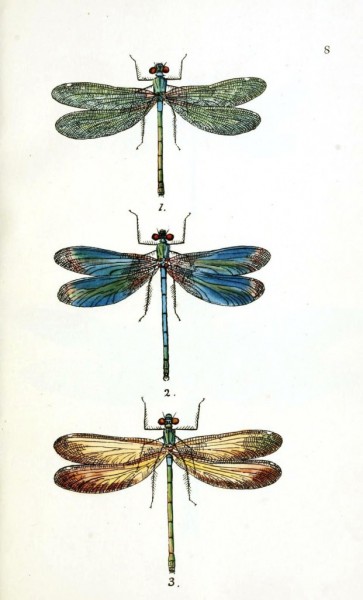
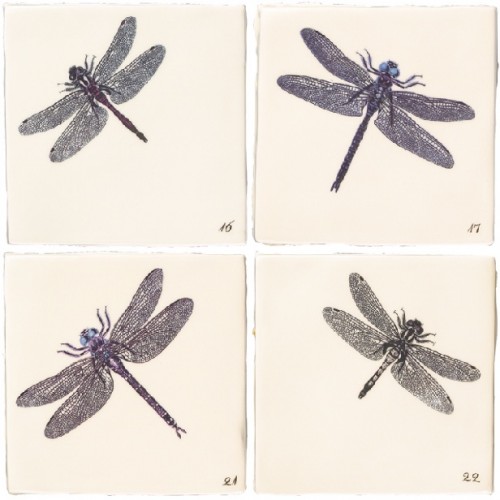
Another insect I love drawing is the dragonfly.

Here are a few cool dragonfly images I found online. Good key words when searching for animal or insect prints on google.com/images are botanical and etching.

I have a long way to go but every time I sketch I get better. Practice, practice, practice! The great thing about sketching in a journal is you can quickly see your progress, and it makes your journal more lively!

Also, here is another tea cup I have collected. It was a Christmas gift from my mother. It is a vintage Lomonosov tea cup and saucer with the USSR stamp on the bottom. I love it!


Looking back at my recent posts I have done a lot of DIY recently, and I have not said a word about knitting. I have been working on a few projects.

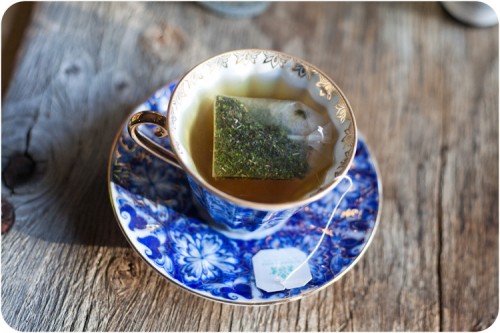
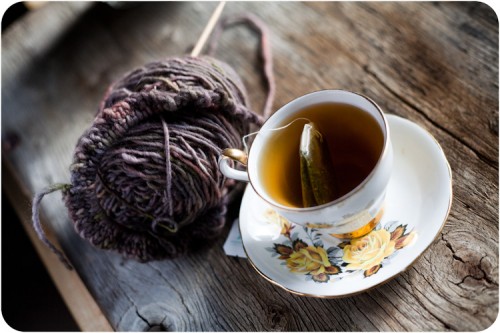
I have been drinking tea in the afternoons lately as I knit. I have a small collection of tea cups. I cycle them out daily, it is so lovely to drink tea out of a beautiful china cup. This one is a Windsor Bone China cup that I found at a thrift store. I will be taking pictures of the other cups as I use them. As for my knitting projects…

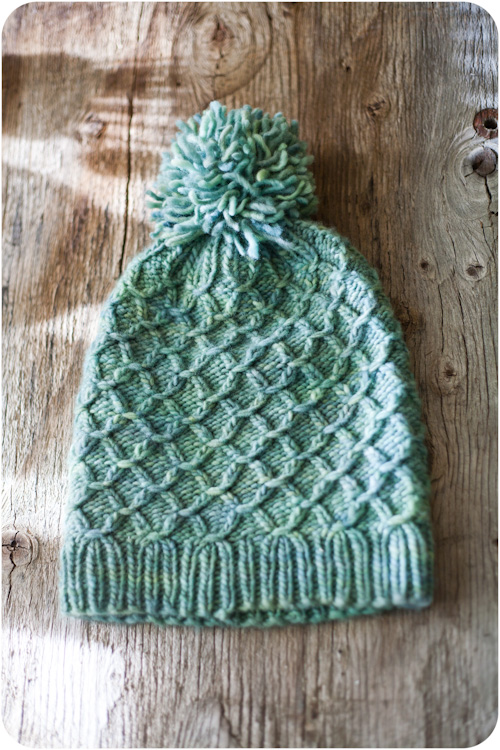
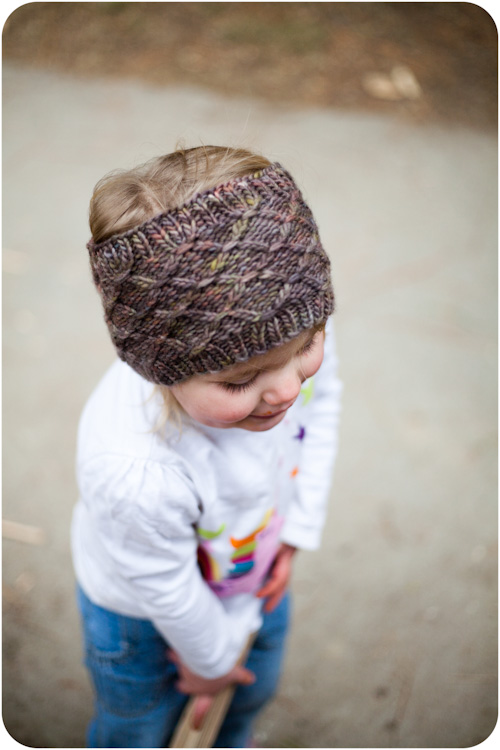
I finished my smocking hat and am prepping the pattern for testing. The smocking headband/ear warmer still needs a little work. The last one fit my two year old so the pattern will include child’s sizes. This one came out a little wide. The nice thing is this headband is a quick and relatively easy project.

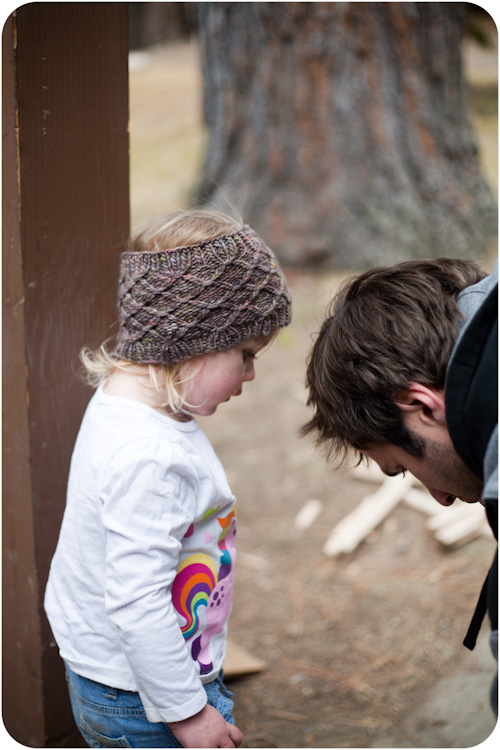
Fiona loves her new headband all the same.

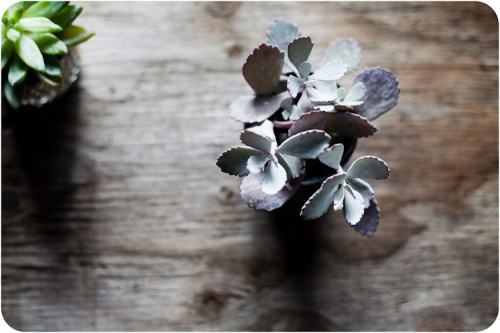
I thought I would also include a picture of my favorite succulent. I have been collecting succulent plants this one is so unusual and I adore the coloring. It is called Kalanchoe ‘Frosty Pink.’

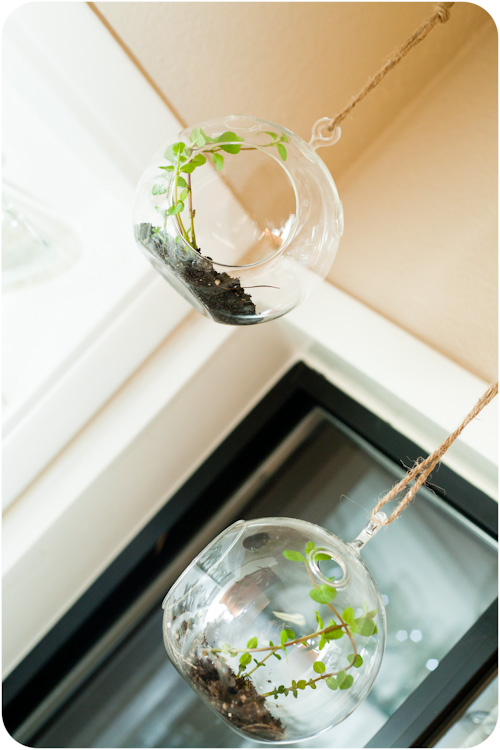
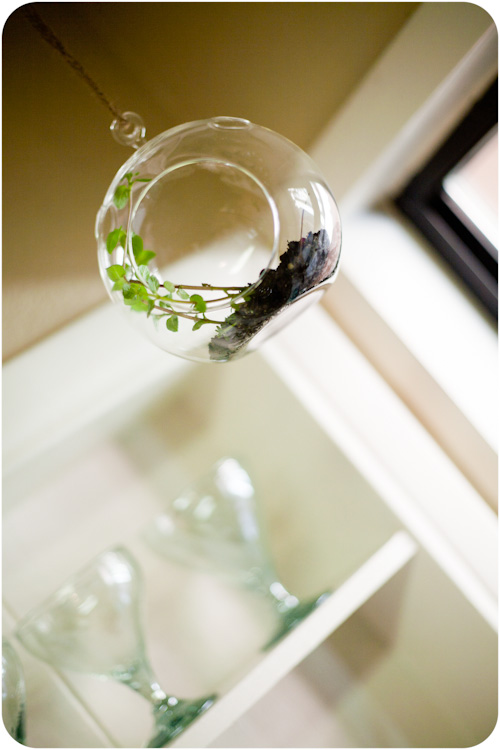
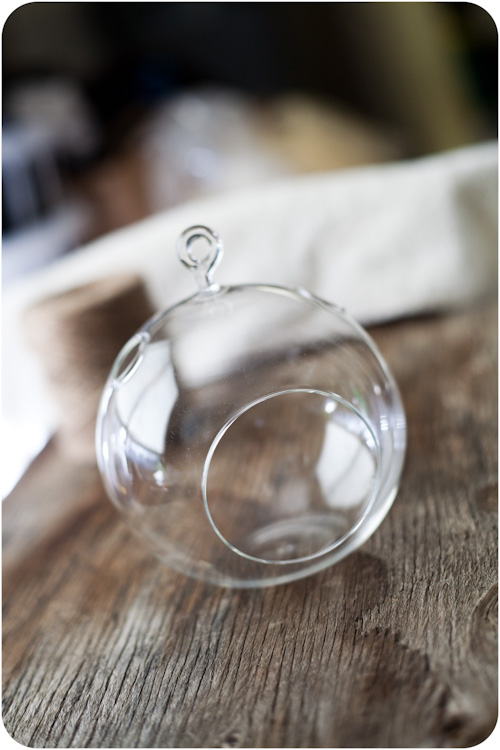
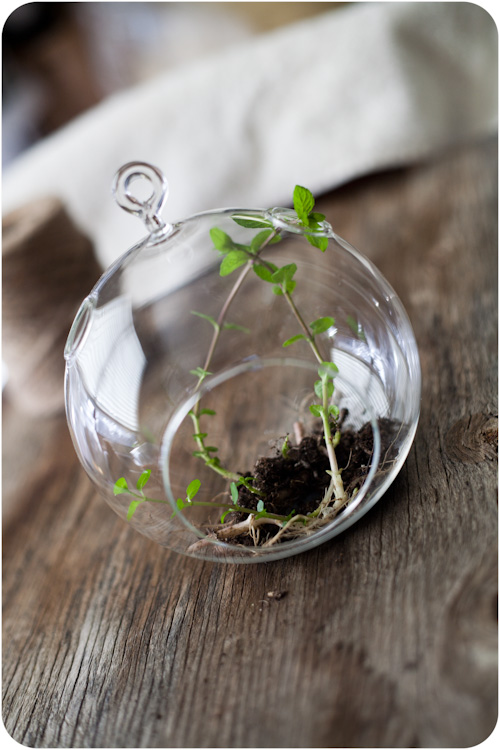
One of my favorite Christmas gifts this year was from my friend Allyson. These tea light hangers are such a great purchase and work really well as hanging terrariums. I have recently had a love of mint plants. They are so hearty and I adore anything that you can grow from a cutting…it increases my chances of keeping them alive.

Here is a quick tutorial on how to make a hanging terrarium.

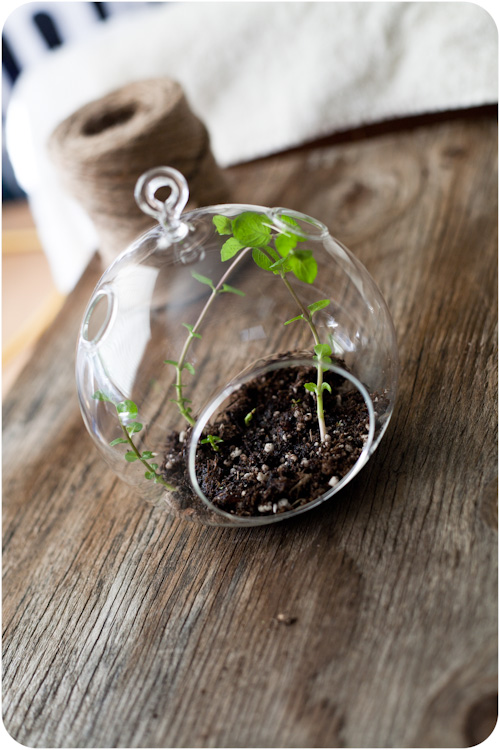
1. Purchase this tea light hanger from CB2 or find one that is very similar.

2. Take a cutting of mint that has some roots attached to it. You can take a cutting of mint and put it in a glass of water for a week or so and it should grow roots if it is fresh enough. I took these off of one of my potted mint plants so the roots are more developed.

3. Cover the roots in dirt as much as possible with the space allowed in the terrarium. Soak the dirt thoroughly with water to give the plants what they need to take root in their new home.

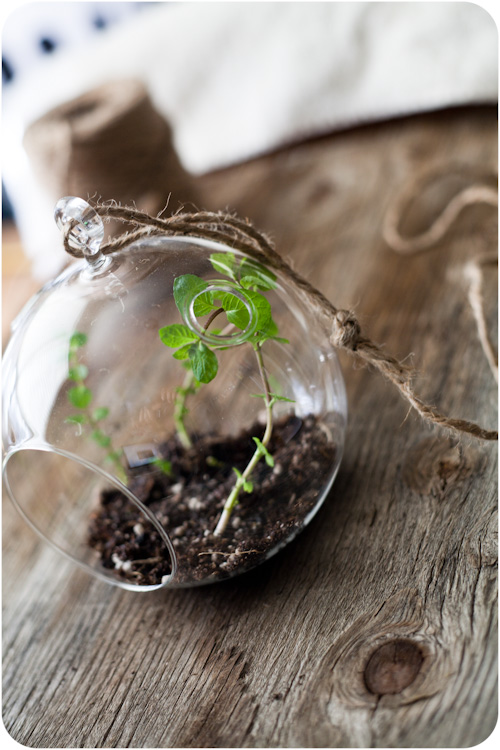
4. Using string twine or ribbon tie a knot through the ring at the top of the terrarium and hang from your ceiling. I used a thumb tack through a knot in the string to hang it from the ceiling.

5. Water your mint plant daily with a spoonful or two of water.

I have two mint plants hanging in my kitchen window now and I love the extra green in my home during winter!

Happy New Year!

I started off my new year by making a collage of a some of the latte art I have been pouring…still not nearly perfect but fun all the same to see them all together. I used my iphone4 to take all these photos and the apps Diptic and Instagram to edit them. I am thinking of doing the same thing using my regular camera and photoshop and then hanging it on my wall.


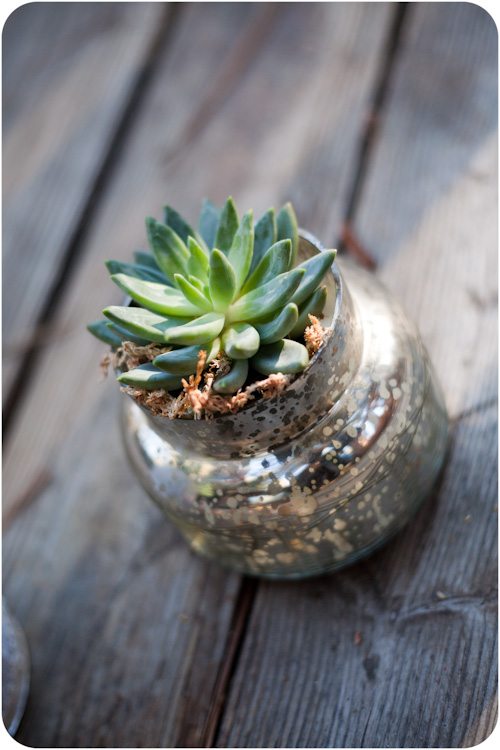
Now to the DIY…I have a slight obsession with succulents. They are beautiful and easy to keep alive. Living where I do it is hard to find plants that I can keep alive, inside, all winter long. Coincidentally I have also been trying to find things to do with my left over glass containers. I also have a not so small obsession with candles…specifically the Aspen Bay Capri Blue Volcano candle sold at Anthropologie. Here is how I combined my love of succulents with my empty volcano glass jars.

I have been doing some research on how to grow succulents in a jar. It usually requires the purchase of charcoal,  and cactus soil or regular earth mixed with sand, a small piece of mesh (burlap may work), and some small stones. Find the jar you want and choose a sufficiently small succulent. You don’t want the roots to reach to the bottom of the jar because there is no drainage. You don’t want the roots sitting in standing water.

1. Layer an inch and a half to two inches of medium to small stones on the bottom of your jar. You can start with large stones and then top the two inches off with smaller stones to fill in the gaps.

2. Lay the small piece of mesh or burlap over the stones. This provides a natural barrier between the dirt and the stones allowing the water to drain and the soil to dry.

3. Layer a small layer of charcoal on top of the mesh and then layer some dirt.

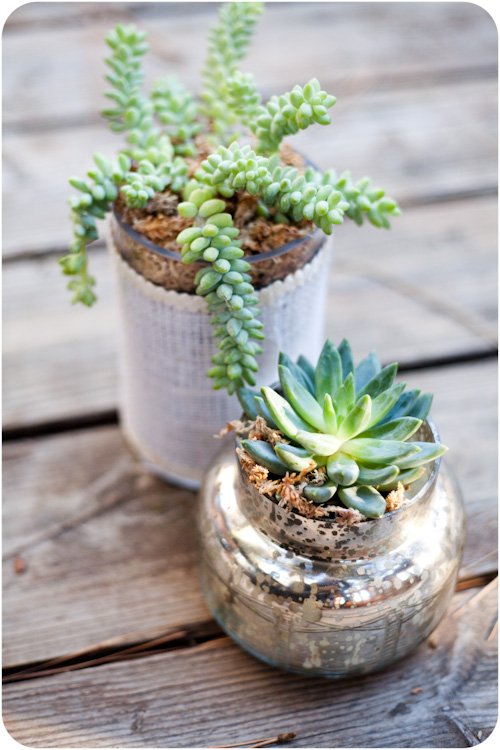
4. Now you can place your succulent in the jar and fill it with more dirt. Sometimes I top the jar off with a small layer of orchid bark or something purely ornamental to finish off the look.

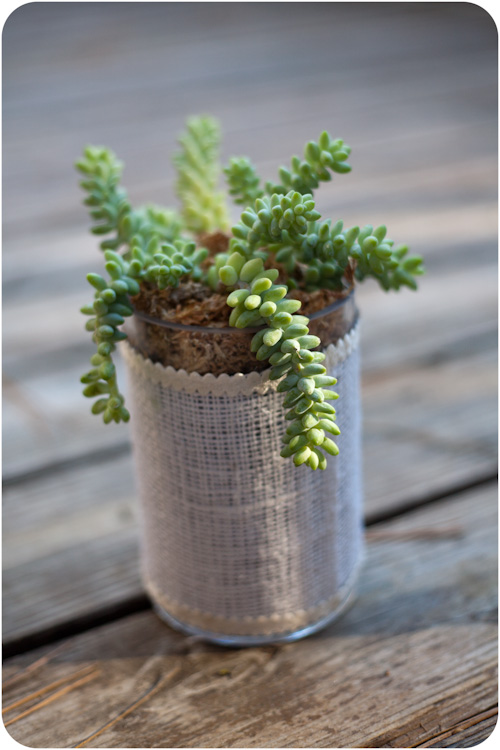
5. When watering a succulent that is potted this way it is best to only use a little bit of water. Then let the soil dry completely before adding a little more water. Succulents are desert plants and survive better with less water than with over-watering. Once you have finished you can decorate your jar if it is more simple with fabric, white burlap, and other trimmings.

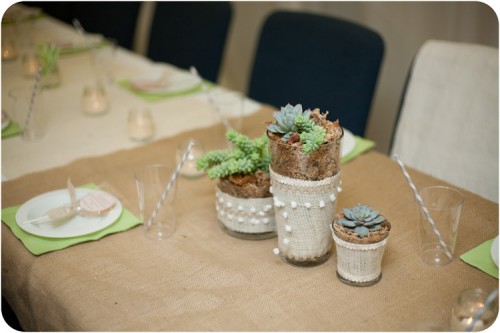
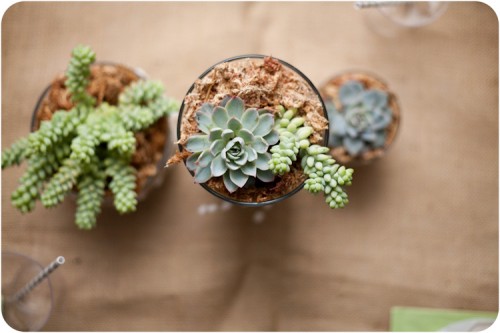
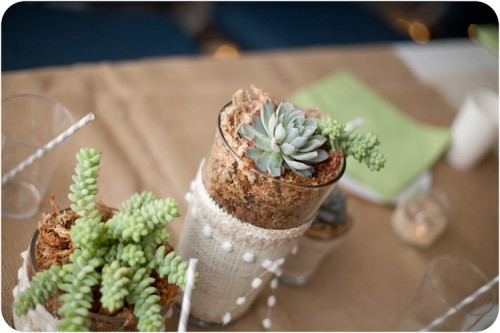
I have a friend Amy Geer, who did all the centerpieces for a shower using this technique. She did not use the charcoal or the screen she simply put rocks in the base and used orchid bark on the top. They were beautiful! I think they would make amazing wedding centerpieces as well. I just love having succulents in my home and I have many jars to re-use so it helps to have an option that uses both.

Here are some pictures of the succulent center pieces.


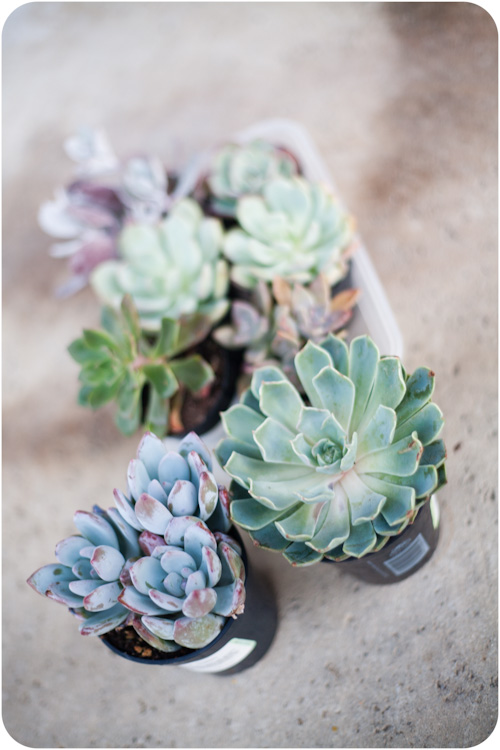
Succulents are easy to find and inexpensive, so even if your first few attempts result in the plants not surviving you can replace them easily. I find mine at walmart or at Lowes Hardware in the garden center. For a larger collection you can check out local garden shops, depending on the time of year they should have more of a variety of succulent plants.

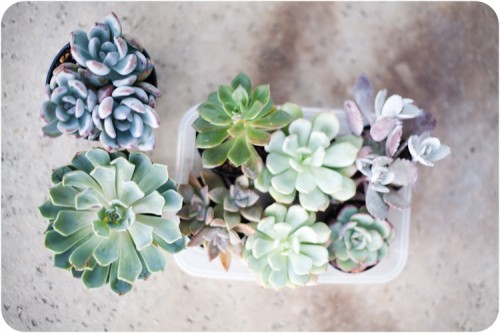
Here are a few I recently purchased and have yet to pot.

If you have a larger container you can do the same method of potting only pot many different varieties. This is called a succulent garden and you can use your creativity in combining shapes and colors and arranging the plants in a pleasing manner.

The sky is the limit if you think creatively. Once you know how to plant the succulents you can use old mugs (if they are deep enough), wooden boxes, mason jars, the list goes on. I have tried a few times to plant succulents in covered jars but even with taking the lid off regularly this isn’t a great idea. Succulents simply do not need that much water and a closed terrarium environment is not the best for them.


HAPPY NEW YEAR!!!

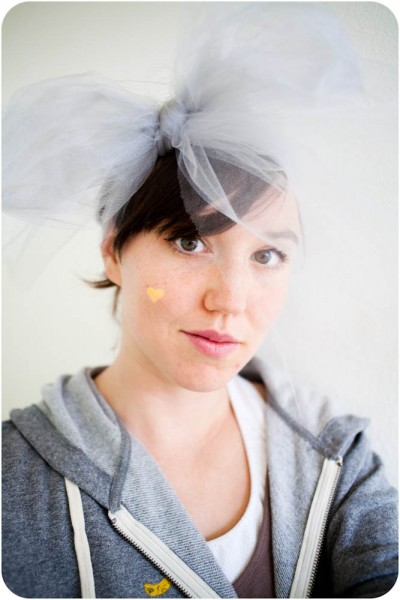
So this diy is a little bit crazy. I had been wanting to make a headwrap that was big and a little more out there. If I were getting married and having a bohemian hippy-ish wedding I might actually wear this for a more modern take on a veil. If I could find a way to make it not look like minnie mouse. Maybe this is just what you are looking for to accesorize your Disney themed party outfit.

 If you can’t get it to look right on yourself try it on a little girl…it looks amazing on my two year old!

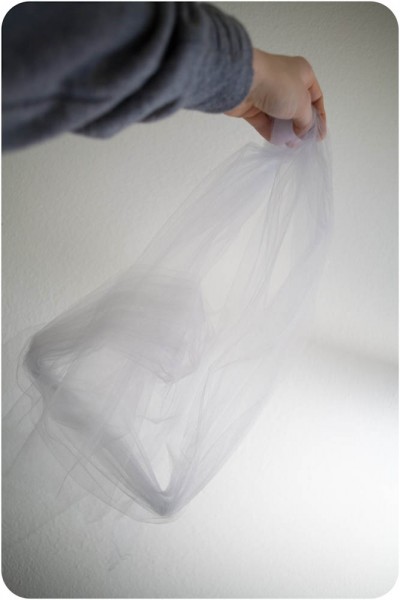
Take a length of tulle a foot wide and a yard and a half long.

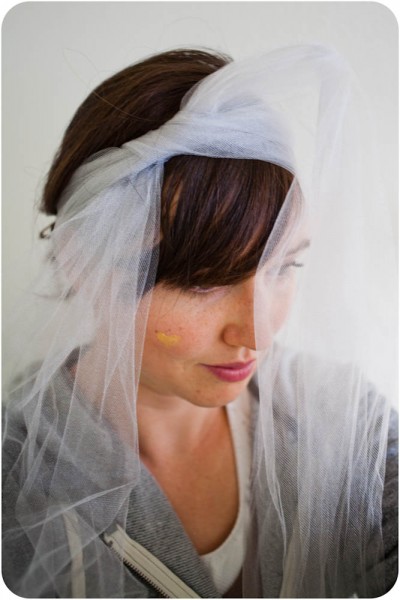
Wrap it around your head and tie in a bow.

Arange the two ends of the tulle to either fall over your face or back over your hair.

I painted a heart on my cheek with wet gold eye-shadow. Don’t know if I could pull it off in public yet but you never know…maybe one day I will be feeling brave enough. It was fun for the photo shoot.

As A New Year rolls around I am facing the usual questions…what have I done with my life that is worth while? What will I do with the year ahead. I have three children, will be turning 28 (eep!) and have a fabulous husband (married 6.5 years). I have no idea what lies ahead in this year. I will continue designing and creating tutorials. I have had to much fun to quit. I am attempting to create a list of goals for the coming 2012 year. They are large goals and thus, may not happen but I have something to work towards.

1. Draft a book proposal, focusing on knitting and fashion and photography.

2. Travel to Australia (finances permitting), and visit my favorite yarn artist Skein Yarns.

3. Set up an online store on my own personal site.

4. Design 6 new patterns (at least!).

5. Blog more regularly. More DIYs and photo shoots. I just want to get into more of a weekly habit.

That is enough for now. They may change as my circumstances change. I don’t normally set goals so I am making working on getting better at that. I hope your New Year is blessed. Hope you will stick around in the coming year to see the fun things to come. Cheers!

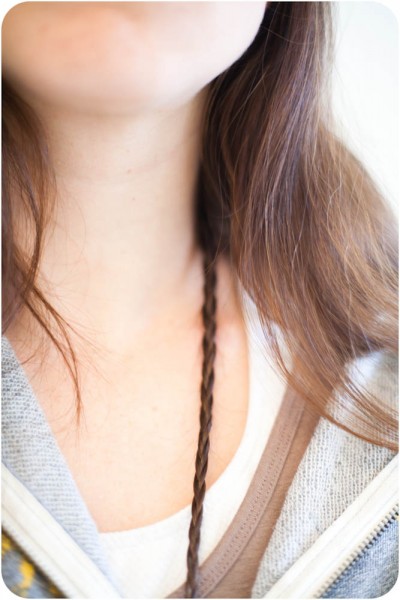
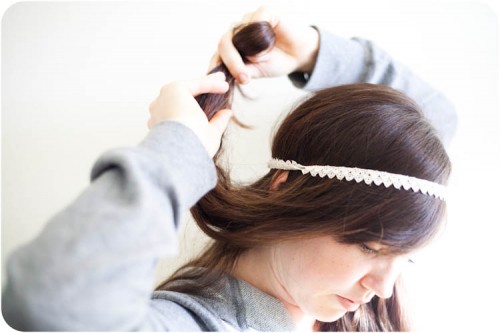
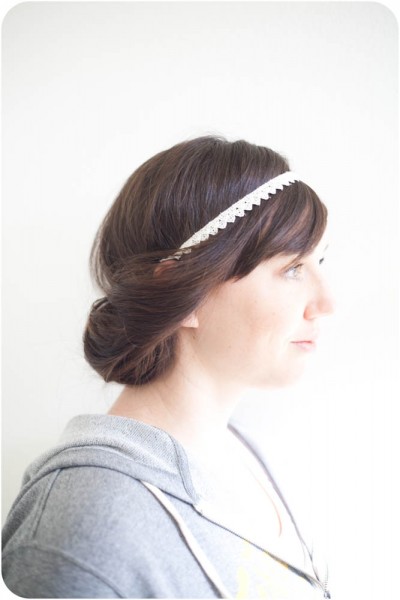
I have been asked several times how I achieved the bohemian hair style pictured in my DIY: Double Strand Lace Headband. It is very easy but a few pictures should help you achieve this simple and beautiful look.

To make the hair style more complex you can braid small strands of hair on the underside. It is not nessicary for the final boho look just something extra you can add.


Place your headband over the top of your hair…like so.

Starting at one side start to tuck your hair into the headband.


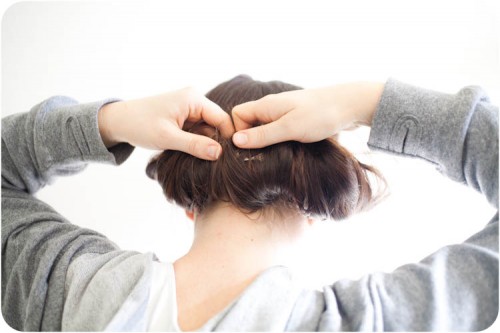
Continue to tuck your hair all the way around and roll it in with your hands until it is the size you want all the way around.

Once it is even, you can pull a few wisps out if you like or keep it smoothly tucked in.

I cannot believe Christmas is nine days away. This month is flying by and I cannot seem to keep up with the various work and personal holiday parties. It does not help that my family was ravaged by a winter cold.

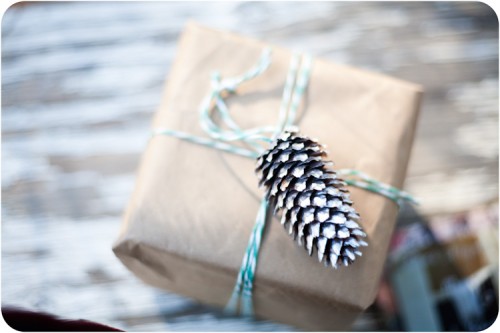
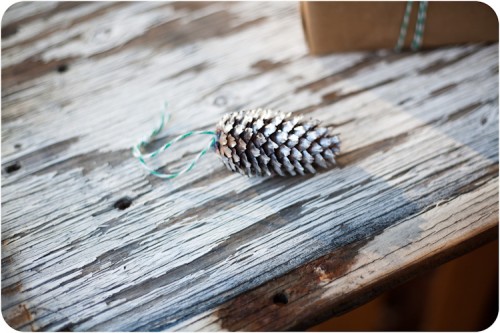
I always try to make an ornament that I can give away with my gifts or as an extra trimming to the way the gifts are packaged. This year I found some really beautiful pine cones close to my home and I spray painted them silver. Then I dabbed a bit of hot glue to the top and attached a bit of bakers twine for them to be hung by. I love the result, though they are not my most creative idea. They are simple and organic, not to mention easy and inexpensive.
 

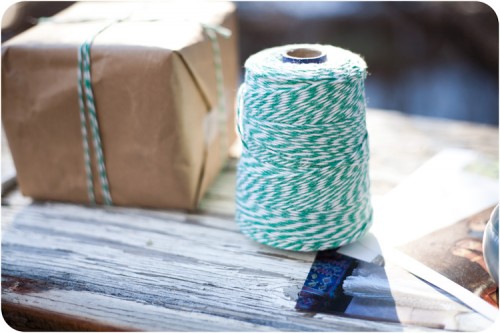
I am wrapping most of my gifts in craft paper with hemp twine or baker’s twine. My Baker’s Twine was from Anthropologie. I love it! I have used a lot of it already and since it is such a large spool I still have lots left.
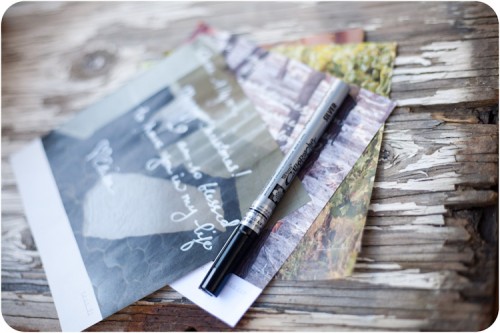
Another idea for holiday gifting is to make the card with the gift unique. I used squares of paper cut from Antho catalogues and wrote on them using a silver calligraphy pen. The result was beautiful and personal.

You can fold up your notes or slide them into a mason jar along with candy or other smaller gifts.


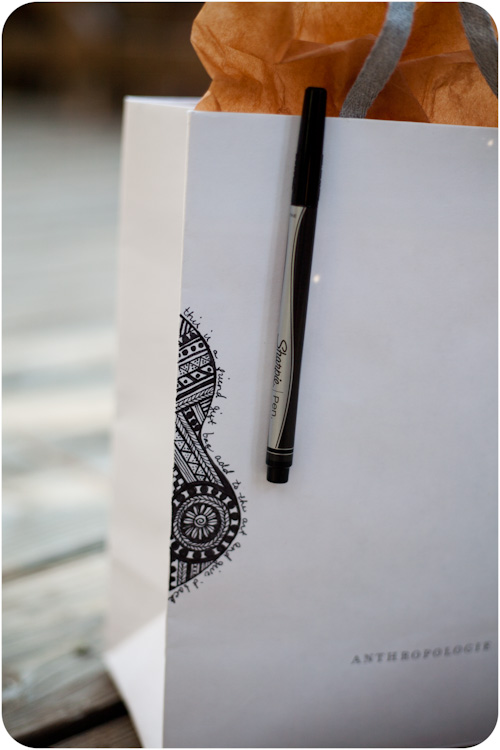
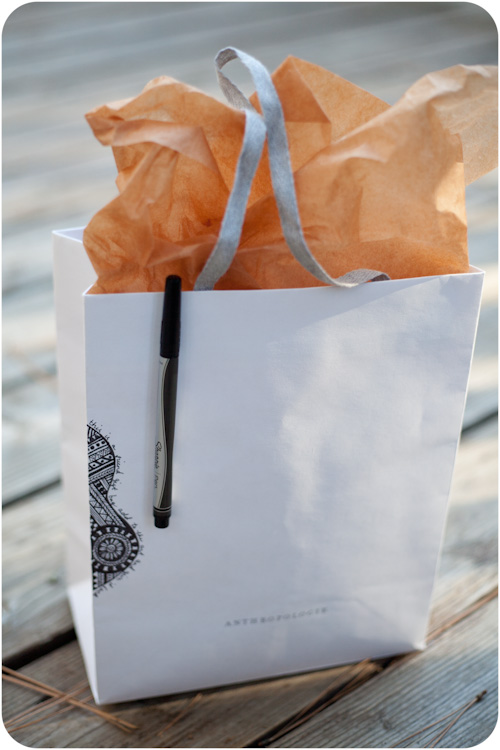
Another idea for those with kindred artistic friends is a “traveling gift bag”. I love the simple white Anthropologie bags and have been trying to figure out a use for them. Finally I came up with an idea. I love to draw designs and sketches with Sharpie Fine Point Pens. They write so beautifully, they don’t bleed through, I highly recommend them.

I have a friend who is an artist. She sells her re-purposed home goods on Etsy. I want to buy everything in her store…she is incredibly talented. Anyway, she is my closest friend and I thought it would be fun to start a tradition of a “traveling gift bag.” The idea is simple. I started it out with a simple design I drew on the bag. Once she has opened her gift she can draw her own addition or new drawing and then give it back. We can trade back and forth between just us or we can add in a few extra creative people. The pen goes with the bag and on the edge of the drawing I wrote “this is a friend gift bag, add to the art and give it back.” I am excited to see if the idea takes off.


So it has been a few weeks since my Handmade Christmas post where I dreamed about what I would knit with some very fabulous yarns. Since then I have (surprisingly and uncharacteristically) knitted several of them! I don’t think I am any closer to having my Christmas gifts done, at least it does not feel that way. However, I feel a sense of accomplishment and wanted to share.

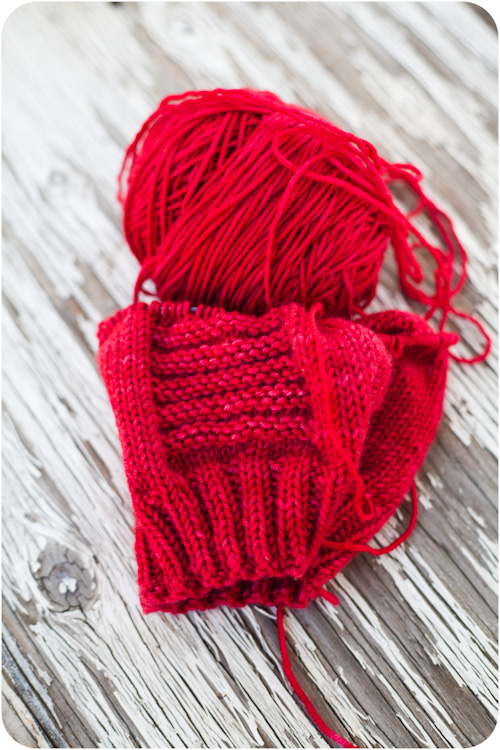
Here is a hat I am in the process of knitting for my oldest son. I think it will be a Christmas present…one of several. In the beginning of fall, when we took a family trip to Portland, I took Corin to the yarn shop with me. He loves watching the girls at the shop wind the yarn on the swift. Anyway, I asked Corin to pick out his yarn of choice for a hat and he chose this beautiful yarn from Plucky Knits. I adore the color…anyway it is a work in progress.

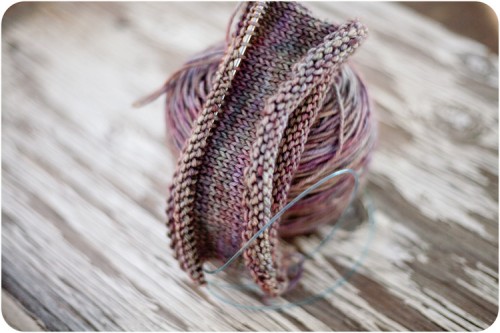
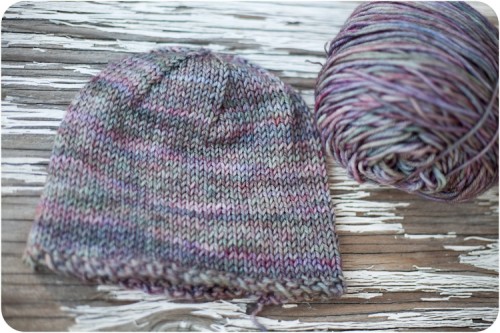
Here is the Madeline Tosh yarn in Opaline I have knit it into a baby hat. I have not decided if I want to add ear flaps, or a pom, or maybe even a crochet flower. So many of my friends are pregnant at the moment I have my work cut out for me! I will be knitting a few more of these…


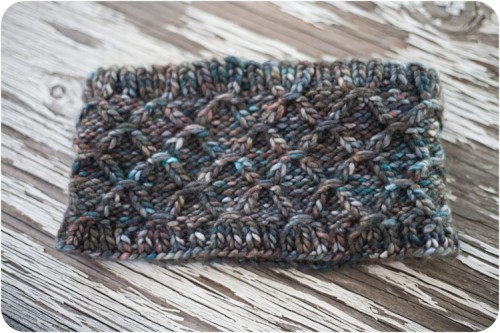
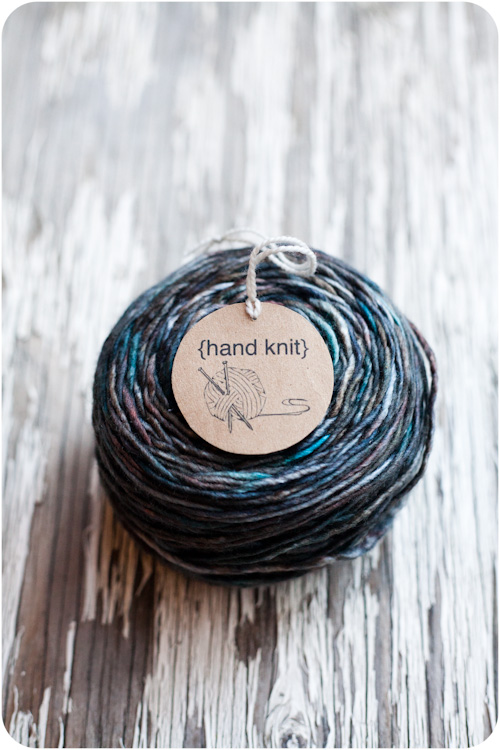
This is a new headwrap/earwarmer I knit using Skein Merino Silk Worsted (pictured above). I cannot get enough of this yarn. If you would like to make these “Hand Knit” tags you can find instructions and a PDF download HERE.


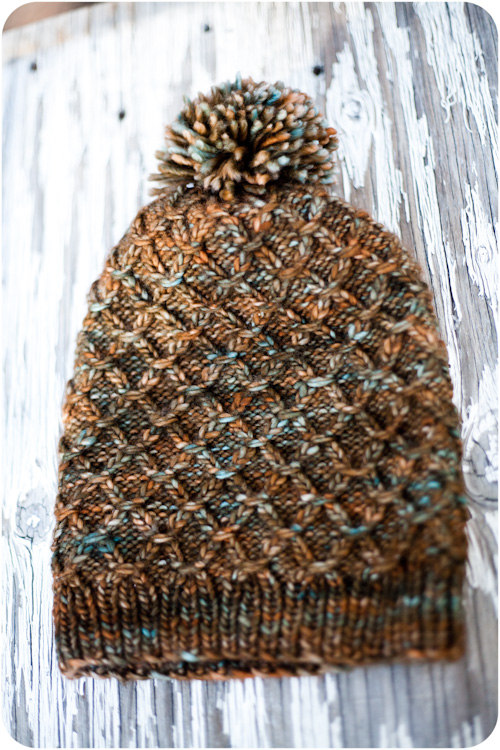
Here is a hat knit with the same smocking pattern in MadelineTosh Merino DK.

I have plans to knit it up a second…and maybe third time in these beauties. These are


I will post pictures when I have knit them up. I hope you are all on track to getting your hand made christmas underway.

Here is a picture of “handmade” tags you can print out for your handmade holiday gifts. If you click on the image it will link you to the post explaining how to create the tags and a downloadable PDF.